The Best Techniques for Kitchen Demolition


Kitchen demolition isn't just a matter of swinging a sledgehammer and hoping for the best. It’s a methodical process—equal parts strategy, patience, and controlled chaos. Think of it less like destruction and more like an intricate dance with drywall, tile, and ancient pipes that haven’t seen daylight in decades. Whether you're gutting the entire space for a top-to-bottom remodel or simply making room for a few key upgrades, knowing the best techniques can mean the difference between a smooth operation and a costly disaster. The truth is, kitchens are deceptively complex. They hide layers of history: tile over linoleum over subfloor; plumbing that’s been added, rerouted, and patched more times than you’d guess; electrical lines tucked behind cabinets like tangled veins. If you don’t approach demolition with the right mindset—and the right tools—you could end up damaging more than just outdated finishes.
This guide walks you through the most effective ways to handle kitchen demolition, from careful planning and preparation to the nitty-gritty of dismantling appliances, cabinetry, countertops, and flooring. Along the way, we’ll explore how to identify structural elements, manage debris, and avoid critical missteps that can stall or complicate the next phase of your renovation.
Assessing the Scope of Your Demolition
Before diving into the actual demolition work, it’s critical to assess the kitchen and determine the scope of the job. Not all kitchens are created equal, and depending on your plans, you may need to tear down a lot or very little. Here’s a guide on how to evaluate your space. First, consider the layout of your kitchen. Are you just removing old cabinets or tearing out walls to expand your space? Will you be knocking down a full section of cabinetry, or are you simply replacing a few items? Understand exactly what needs to go before beginning the process.
Second, inspect the utility connections. Ensure that your water, gas, and electrical lines are properly shut off. In particular, kitchens have a complex arrangement of plumbing, electrical wiring, and even gas lines. Make sure you know where these connections are located so you can avoid accidentally damaging them during demolition. Finally, take note of any structural components that may be impacted by the work. If you're planning to remove a wall or change the positioning of major appliances, you may need a professional to help with the structural elements. Without proper planning, you could inadvertently harm the integrity of the space or create unnecessary safety hazards.

Gathering the Right Tools and Equipment
Once you’ve evaluated the scope, it’s time to gather the necessary tools and equipment. Demolition isn’t just about smashing things—it's about doing it safely and effectively. A well-equipped toolbox will save you time and energy during the demolition phase. Some of the tools you'll need include:
- A sledgehammer: This heavy-duty tool is essential for breaking down walls, cabinets, and other structures. It’s important to use this with control and precision to avoid accidents.
- Crowbar or pry bar: Ideal for prying apart cabinets, countertops, and tiles, the crowbar is a versatile tool that allows you to remove materials without damaging the underlying structure.
- Reciprocating saw (Sawzall): Perfect for cutting through pipes, nails, and wood, this saw makes quick work of removing cabinetry and other materials.
- Utility knife: A simple tool like a utility knife is great for cutting through caulking, drywall, and insulation, making it a must-have for smaller tasks.
- Safety equipment: Safety goggles, gloves, knee pads, and a dust mask are essential for protecting yourself during demolition. You’ll be working with sharp tools, broken materials, and dust, so proper safety gear is crucial.
Step-by-Step Kitchen Demolition Process
Now that you’ve assessed your space and gathered your tools, it’s time to begin the actual demolition. Start by breaking the process down into smaller tasks to ensure that the job is completed systematically and without unnecessary frustration.
Disconnect Appliances and Fixtures
Start by disconnecting all appliances in the kitchen. Remove the refrigerator, stove, microwave, and dishwasher. Ensure that all electrical connections are safely disconnected, and shut off the water supply to sinks, dishwashers, and refrigerators. Be extra cautious when dealing with gas lines. If you’re unsure of how to safely disconnect these, it’s best to hire a licensed professional.
Remove Cabinets and Countertops
Next, move on to removing the cabinets and countertops. Start with the upper cabinets first. Use a pry bar or crowbar to carefully detach the cabinets from the wall. Be careful not to damage the drywall, as this will create additional work down the road. Once the upper cabinets are removed, move on to the base cabinets. Before removing them, be sure to empty everything out, including any drawers or shelves. Disconnect any plumbing fixtures that are connected to the cabinets, and then use your pry bar to detach the cabinets from the wall.
Tackle the Flooring
Kitchen flooring is often glued or nailed down, making it one of the most difficult aspects of the demolition process. If you’re removing tiles, use a hammer and chisel to break them up, working carefully to minimize damage to the subfloor. For wood or laminate flooring, start by removing any baseboards along the edges. Then, use a crowbar to pry up the planks. If you’re dealing with glued-down vinyl flooring, use a floor scraper to peel back the material.
Remove the Walls (If Applicable)
If your kitchen demolition project involves removing or altering walls, be sure to approach this task with care. The first step is to determine if the wall is load-bearing or non-load-bearing. Load-bearing walls support the structure of your home, so altering them without professional help can lead to serious structural damage. To remove a non-load-bearing wall, start by removing the drywall. Cut through the seams using a utility knife and carefully remove the drywall pieces. If the wall is made of plaster, it will take a little more time and effort to remove. You may need a sledgehammer for this task.
Clean Up and Dispose of Debris
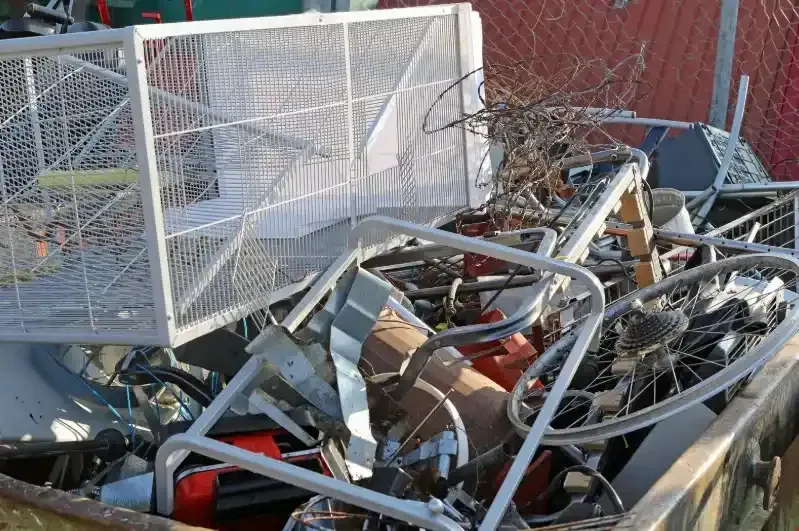
Once you’ve completed the bulk of the demolition, it’s time to clean up the mess. Kitchen demolition creates a significant amount of debris, including broken materials, dust, and other waste. Renting a dumpster is a good idea, as it will make the disposal process much more efficient. Be sure to sort through the debris and separate recyclable materials like metal, glass, and cardboard. Take the time to properly dispose of hazardous materials such as asbestos or lead-based paint, as mishandling these materials can result in serious health risks.
Hidden Surprises in Kitchen Demolition
Not every kitchen goes down without a fight. Sometimes, beneath that innocent layer of drywall or behind a harmless-looking cabinet, there’s a surprise waiting. Mold. Outdated wiring. A rogue pipe that doesn't quite follow plumbing code. These unexpected discoveries are common—and they can throw your entire timeline into chaos if you're not prepared. Take for instance the vintage homes around Gwinnett County. Many were built with building codes that have long since changed. You might discover cloth-wrapped electrical wires or galvanized plumbing hiding behind walls.
These aren’t just old—they can be dangerous. In cases like these, halting demolition and calling in professionals is the smartest move you can make.Then there's water damage—often invisible until you've peeled back a few layers. Beneath the kitchen sink or behind the dishwasher, you may find wood rot or swollen particleboard that's been quietly deteriorating for years. When that happens, don’t panic. Document the damage, cut away affected materials, and treat the area before rebuilding. Kitchen demolition isn’t just destruction. It’s a reveal. It uncovers what’s been silently failing and lets you make it right.
Dealing with Permits and Code Requirements
Demolition can feel like a lawless pursuit—you’re breaking things down, after all. But in reality, certain elements of kitchen demolition fall under local regulations. Depending on how deep your renovation goes, you might need permits, inspections, or even environmental testing. In Gwinnett County, for instance, removing walls—especially load-bearing ones—or altering plumbing and electrical systems usually requires a permit.
Even if you're doing the work yourself, these rules still apply. Skipping the paperwork can result in fines or problems when selling the property later. Then there's the question of hazardous materials. Older homes may have asbestos in tile adhesive, insulation, or textured ceilings. Lead paint is another concern, especially in homes built before 1978. If you're unsure, don’t gamble—get it tested. DIY kits are available, but professional testing is more accurate and gives peace of mind.
Conclusion
cKitchen demolition is a demanding yet transformative process that lays the groundwork for a refreshed and functional space. Whether you're handling it on your own or relying on expert support, success lies in thoughtful planning, proper tools, and a methodical approach. Paying attention to the finer details—like shutting off utilities, safely removing cabinetry and fixtures, and disposing of materials responsibly—ensures the work proceeds smoothly without avoidable setbacks. A safe and efficient demolition doesn't just save time and money; it also minimizes stress and helps prepare your home for its next phase.
For those in Gwinnett County looking to simplify the process, Lasso & Load Junk Removal offers reliable and professional junk removal services tailored to kitchen demolitions and beyond. Our team handles the heavy lifting and cleanup, so you can focus on your renovation goals without the mess or hassle. Let us help clear your space quickly and responsibly. To learn more or schedule a service, contact Lasso & Load Junk Removal at 404-227-2017 or email Lauren.renwickk@gmail.com. We proudly serve the Gwinnett Co area with efficient, hassle-free solutions you can count on.