How to Prepare for Bathroom Demolition


When it comes to home renovations, bathroom demolition stands out as one of the most challenging and rewarding projects you can take on. Whether you're transforming your bathroom into a modern oasis or undertaking a complete overhaul, meticulous preparation is essential to ensure everything goes smoothly. The demolition process is more than just about tearing down walls or pulling out old fixtures; it involves a range of critical steps to make sure the project doesn’t spiral out of control. Proper preparation includes protecting your home from dust and debris, planning for waste removal, and safeguarding any existing features that might be salvaged.
Additionally, you’ll need to assess whether plumbing or electrical work will need to be altered, ensuring that you can complete the job safely. By following the right steps before you begin demolition, you can minimize potential disruptions, stay organized, and keep your renovation on schedule, making the whole process as efficient and stress-free as possible.
Set Your Expectations and Plan Ahead
Before you jump into the physical aspects of the bathroom demolition, it’s crucial to have a plan in place. Knowing exactly what you want to accomplish with your renovation will guide the demolition process. Are you simply updating the look of your bathroom, or are you completely overhauling the layout? The scope of your project will determine the level of preparation needed.
Consider the time frame for the demolition, as well as your living situation. Will you be without a working bathroom for a period of time? In cases like these, it's wise to consider alternatives, such as renting a portable toilet if necessary or using a nearby bathroom while the work is being done. Planning your renovation during a time when it’s most convenient for you will help avoid unnecessary stress.
Gather Your Tools and Materials
Having the right tools and materials is crucial for a successful bathroom demolition. You might already have some of these tools at home, but others will likely need to be rented or purchased. Be sure to gather the following before starting:
- Protective Gear: This includes safety glasses, gloves, dust masks, and hearing protection. Demolition can be messy and dangerous, so protect yourself from flying debris, dust, and sharp objects.
- Sledgehammer: A powerful tool that will make short work of tiles, drywall, and other materials.
- Utility Knife: Useful for cutting through drywall and removing old caulking or adhesive.
- Crowbar or Pry Bar: These tools help to loosen tiles, cabinets, and other materials that are nailed or glued into place.
- Demolition Bags: Heavy-duty bags for collecting and disposing of debris. You’ll need something that can withstand sharp or heavy objects.
- Buckets or Containers: These are for handling smaller debris or for when you need to remove parts of fixtures.
If you're unsure about what to buy or rent, a local hardware store can provide advice on the right tools for your job. It’s better to have all your tools in one place before you start, so you’re not scrambling mid-demolition.
Secure the Area
Before starting any physical work, it’s essential to secure the bathroom space. Protecting your floors, walls, and any remaining fixtures will help avoid costly repairs later on. Lay down drop cloths or tarps to shield your floors from damage, dust, and debris. You may also want to cover any adjacent rooms or hallways to keep the mess confined to the demolition zone. Additionally, move any furniture or belongings out of the bathroom or nearby spaces. Even though bathrooms are typically smaller, it’s easy for debris to spill over into other areas if not properly contained.
If possible, remove everything that can be easily damaged, including mirrors, towel racks, and light fixtures. If your bathroom demolition involves plumbing or electrical work, you may need to turn off the water supply or electricity to prevent accidents. Double-check these systems before getting started to ensure you can safely work without risking any issues.
Start with the Fixtures and Hardware
The next step in preparing for bathroom demolition is to tackle the easy removals first. Begin by taking out any small fixtures like towel racks, shower curtains, or toilet paper holders. These should be unscrewed or removed carefully so they can either be reused or properly disposed of. Next, remove the larger fixtures. Start with the toilet: It’s often one of the first things removed during a bathroom demolition. Shut off the water supply, then disconnect the tank and remove the toilet. Some toilets are secured with bolts, so use your wrench or a crowbar to loosen them before lifting the toilet out of the space.
After the toilet is removed, proceed to other fixtures such as the sink, mirrors, and lighting. It’s essential to turn off electricity if you’re disconnecting lighting or other electrical components. The sink may be attached to the wall, so you’ll need to unscrew the brackets holding it in place. Make sure to carefully remove any plumbing connections as well.
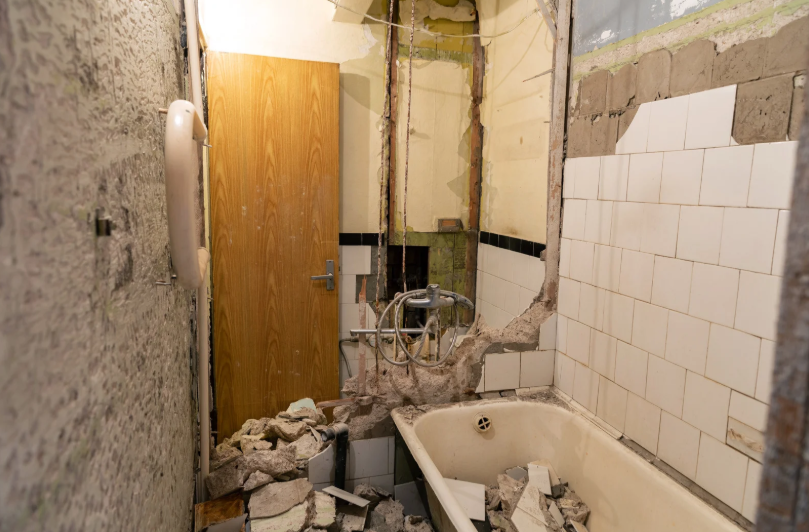
Remove Flooring and Wall Tiles
With the fixtures out of the way, the next phase of the demolition involves removing flooring and wall tiles. If your bathroom has ceramic or porcelain tiles, you’ll need to carefully break them up and remove them, as they can be difficult to pry up. Use a sledgehammer or hammer and chisel to loosen tiles from the floor or walls. Be sure to wear your protective gear during this phase, as tiles can shatter, and the sharp edges can cause injury. It’s important to take your time to remove tiles properly, as rushing can lead to unnecessary damage to the underlying surfaces.
If you’re planning to replace the floor, you can remove all of the tiles, but if you intend to keep the floor, be extra cautious when removing them. Once the tiles are removed, the next task is to tear down any drywall or backer board behind them. These materials are often easy to remove once the tiles have been taken out, but it’s important to go slowly so that you don’t cause damage to the studs or plumbing behind the walls.
Address Plumbing and Electrical Systems
If you’re planning on making changes to the plumbing or electrical systems in your bathroom, the demolition process should also include careful preparation of these systems. Plumbing pipes may need to be disconnected or capped off to prevent leaks during the renovation. Be sure to have a professional plumber on hand if necessary to ensure that everything is done correctly and safely. Similarly, if you’re changing the layout of your bathroom and need to move electrical components like lighting, outlets, or ventilation fans, it’s crucial to disconnect the power before you begin.
If you're unfamiliar with electrical work, it’s best to hire a licensed electrician to avoid potential hazards. In some cases, demolition might uncover issues with the plumbing or wiring, such as outdated pipes or exposed wires. It’s always a good idea to inspect these areas thoroughly to ensure the work done during the renovation is up to code.
Dispose of the Debris
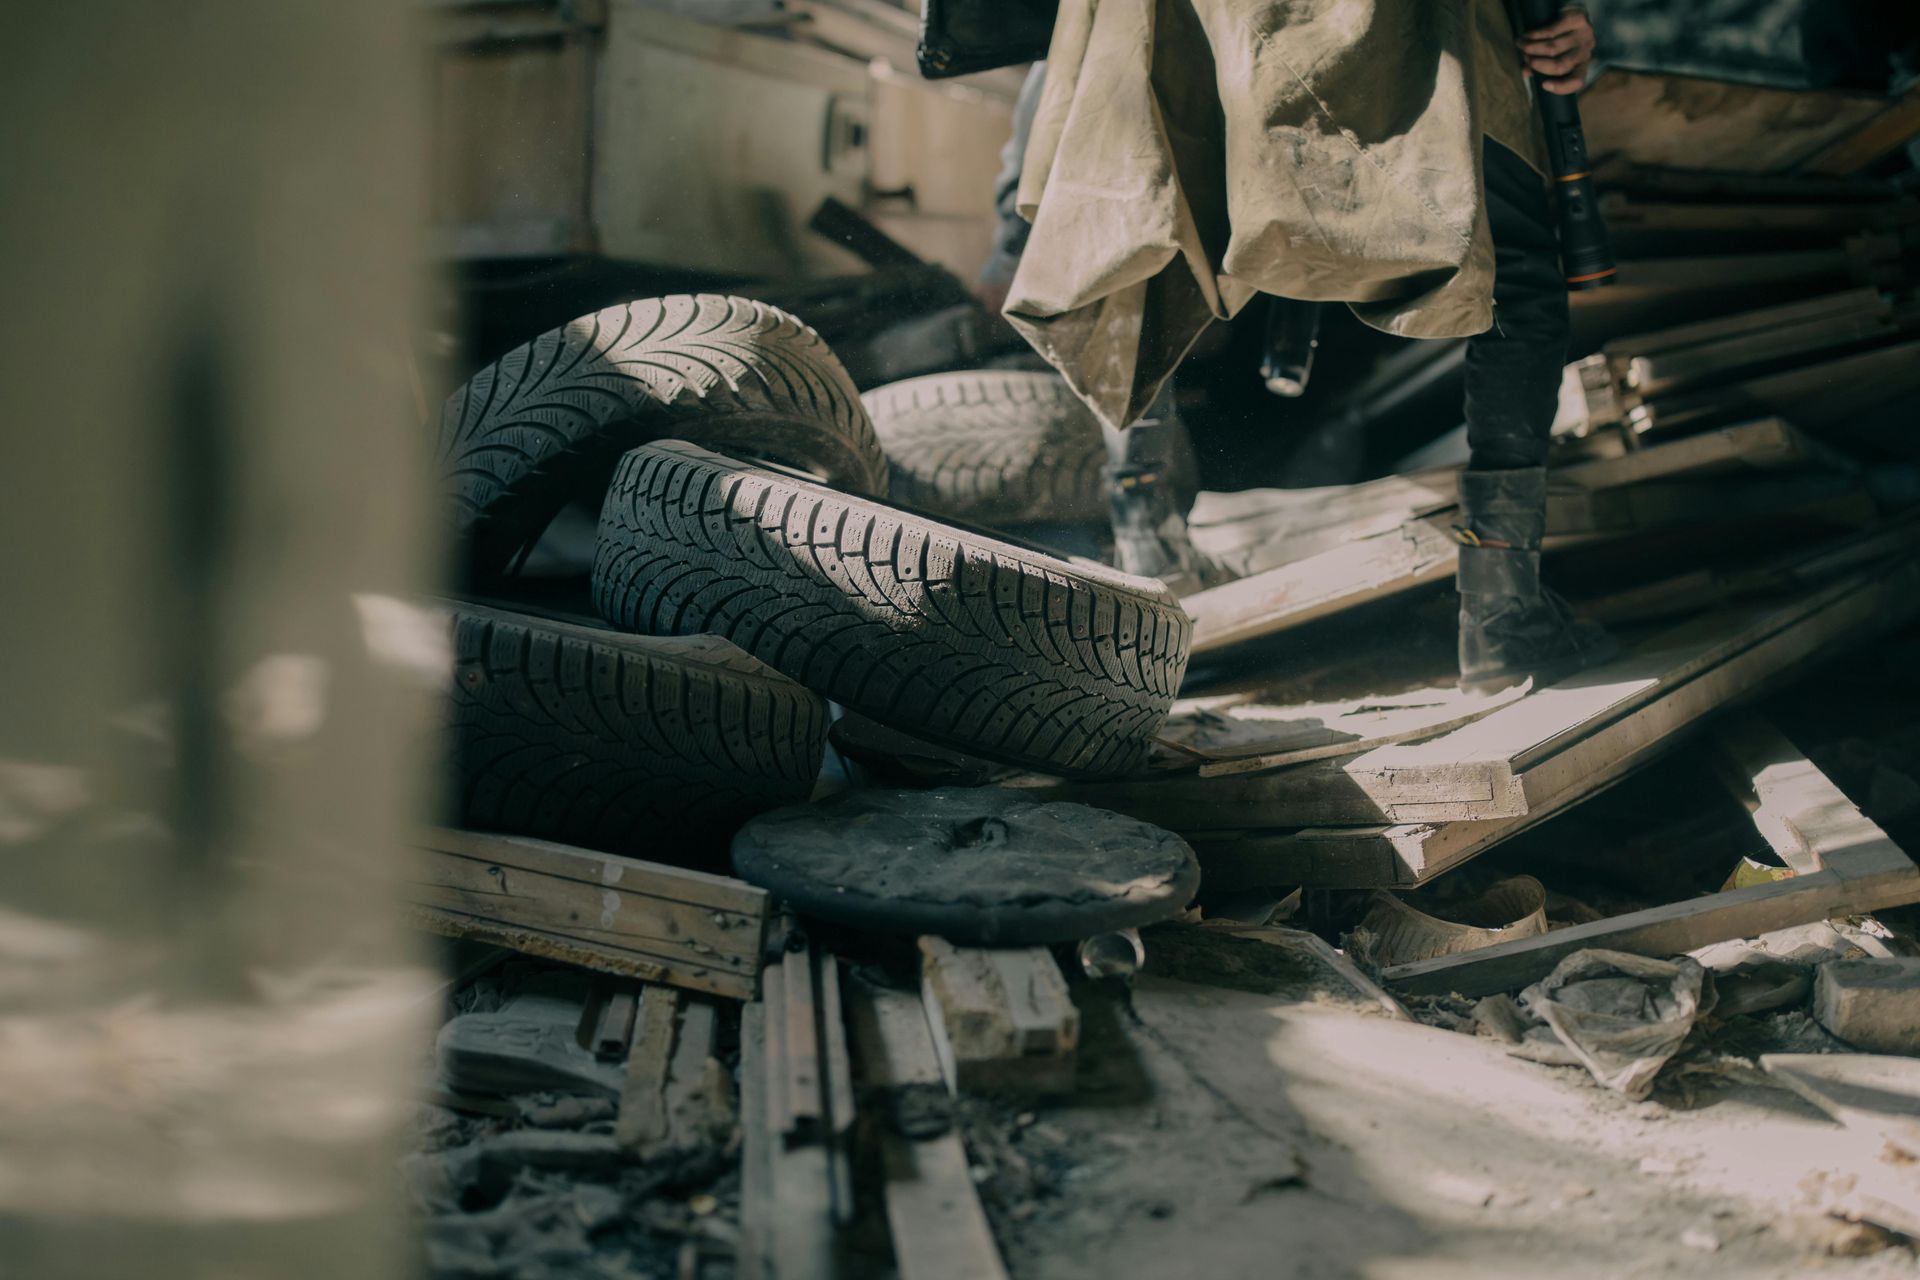
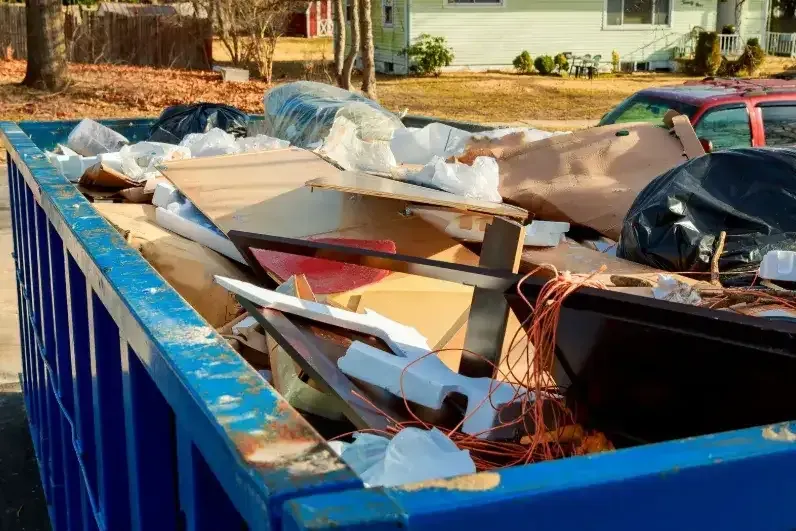
After you’ve completed the demolition of your bathroom, managing the debris is a crucial step in the process. Bathroom demolition produces an array of waste, such as broken tiles, drywall, wood, plumbing fixtures, and other construction materials. Piling all the debris up in your garage or driveway is not only inconvenient but can also become a hazard, creating an unsightly mess that could interfere with your daily life. One of the most effective ways to manage the waste is by renting a dumpster, as it provides a designated space for disposal, helping to keep the job site clean and organized.
Renting a dumpster allows you to remove debris in an efficient and timely manner, preventing it from piling up and causing additional clutter. You can arrange for a dumpster delivery ahead of time, ensuring it’s ready when the demolition starts. Depending on the scale of the renovation, you may need a larger dumpster, so it’s helpful to estimate the volume of debris beforehand. By keeping everything contained, you can maintain a safer and tidier work environment while avoiding any unnecessary delays in your renovation project.
Consider Hiring Professionals for Larger Jobs
While DIY bathroom demolition can be a satisfying and cost-effective project, some aspects of the job may require professional expertise. If your project involves extensive plumbing, electrical work, or structural changes, it’s worth considering hiring professionals for these specific tasks.
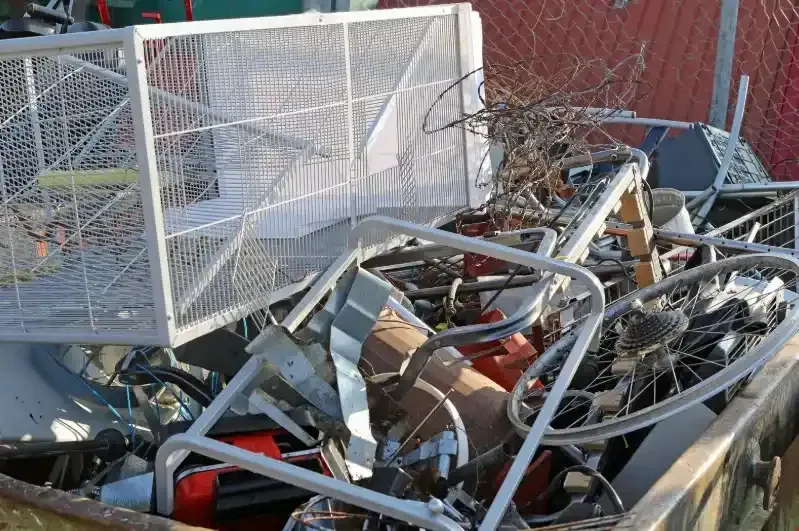
Additionally, if you don’t have the time or resources to handle a full-scale demolition, a junk removal service can help take care of the waste disposal. A professional team can also ensure that the demolition is done safely, efficiently, and up to code, which can be particularly important for larger renovation projects.
Conclusion
Preparing for bathroom demolition is a detailed process that requires careful planning, the right tools, and a strong commitment to safety. Taking the time to properly prepare ensures that the demolition runs smoothly and helps prevent unnecessary setbacks during the renovation. Whether you’re removing outdated fixtures, tearing down tiles, or preparing to modify plumbing and electrical systems, a well-organized approach can set the foundation for a beautiful, functional new bathroom. It’s essential to pace yourself, take the necessary precautions, and avoid rushing the process. This not only protects your home and health but also ensures that the demolition phase is as efficient as possible.
In addition, managing the waste and debris from a bathroom demolition can be overwhelming. For an efficient and hassle-free solution, consider hiring a professional junk removal service to handle the disposal. Lasso & Load Junk Removal in Gwinnett Co specializes in safely removing demolition debris, making the cleanup process effortless and stress-free. For more information or to schedule a pickup, call us at 404-227-2017 or email Lauren.renwickk@gmail.com. We're here to assist with all your demolition waste removal needs.