Flooring Removal: What to Expect During the Process


Flooring removal is a transformative task that can completely rejuvenate any room, whether it’s your living room, kitchen, or office. It’s often the first step in a renovation or upgrade, creating the perfect foundation for a fresh and modern look. Whether you're swapping out old carpet, outdated tiles, or damaged hardwood, the process goes beyond simply tearing up the old materials. It’s about clearing the path for a clean slate that allows your new flooring to shine.
Understanding what to expect throughout this process can help reduce stress and ensure a smoother experience. The journey begins with proper preparation — clearing the room of furniture and covering nearby surfaces to protect against dust and debris. Once the floor is ready for removal, the task of pulling up, cutting, or chiseling the old flooring begins. With the right tools and professional know-how, the entire process can be done efficiently, leaving you with a clean and level surface ready for your new floors to be installed.
The Prelude: Preparing for the Transformation
Before you embark on the journey of flooring removal, preparation is key to ensuring a smooth and effective process. This initial step is crucial to avoid disruptions and protect your home. Begin by clearing the room of all furniture, decor, and personal items. This will create unobstructed access to the floor and reduce the chance of accidental damage to your belongings. In areas like kitchens and bathrooms, disconnecting appliances and fixtures is essential to prevent mishaps during the removal process.
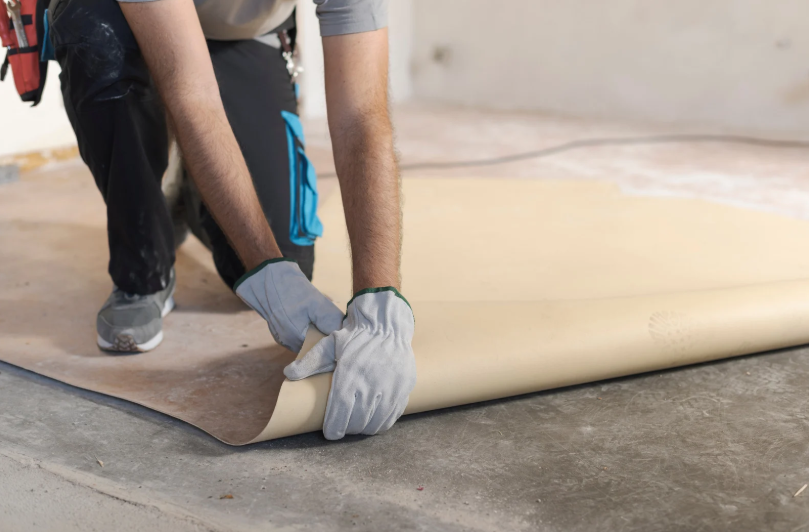
Additionally, it’s a good idea to cover nearby surfaces, such as walls, baseboards, and furniture, with protective sheets to shield them from dust and debris. Proper ventilation is important to keep the air clean and reduce the buildup of dust in the room. Sealing off other areas of the home will help contain the mess. Lastly, don’t forget to wear the necessary safety gear—gloves, goggles, and masks are essential to protect yourself during this potentially hazardous phase.
Understanding the Terrain: Assessing Your Flooring
The type of flooring you are removing directly impacts how the removal process will unfold. Each flooring material presents its own challenges, so understanding what you're working with is essential. Carpet is typically the easiest to remove; it involves cutting it into manageable strips, lifting it off the floor, and pulling out the tack strips that hold it in place. Hardwood floors, while elegant, require more precision during removal, as the boards need to be pried up carefully to avoid damaging the subfloor.
Stubborn nails and adhesive residues may require additional work. Tile removal is the most labor-intensive, often requiring power tools like chisels to break the tiles into smaller pieces. Mortar and adhesive left behind on the subfloor must be scraped or ground off, which can be physically demanding. Understanding the flooring material and its installation method ensures the right tools are used, making the process more efficient and less stressful.
The Process Unfolds: Step-by-Step Removal
Once the preparation is complete and the necessary tools are on hand, the flooring removal process can begin. For carpet removal, the first step involves cutting the carpet into manageable strips. This makes it easier to roll up and remove without creating too much of a mess. After the carpet is lifted, the padding beneath is typically peeled up, followed by the removal of tack strips, which hold the carpet in place. Special tools are often needed to extract these strips effectively. Hardwood removal, on the other hand, requires more care.
Each board must be pried up one by one, with great attention paid to avoid damaging the subfloor. In some cases, you might encounter nails, glue, or old adhesives that require the use of additional tools to remove. Tile removal is the most labor-intensive part of the process, often requiring power tools to break the tiles into smaller pieces and carefully scrape away the mortar left behind. Throughout this process, the subfloor must be protected and preserved to ensure it remains intact for the installation of new flooring.
The Aftermath: Cleaning and Preparing for What's Next
Once the old flooring is fully removed, the space will inevitably be covered in dust, debris, and sometimes broken pieces of flooring. This is when the real cleaning begins. Sweeping and vacuuming help remove the larger particles, but a more thorough cleaning is necessary to ensure that no small debris or dust remains. Afterward, the subfloor must be inspected carefully for any damage. Common issues include cracks, rot, or uneven surfaces that could impact the integrity of the new flooring. If any problems are found, repairs will be needed to create a solid and stable base for the new floor.
This might involve filling in holes, sanding down bumps, or even replacing sections of the subfloor if necessary. It's also important to dispose of the old flooring materials in an environmentally responsible way. Many flooring removal companies offer disposal services to handle the materials properly, and it's crucial to follow local regulations regarding the disposal of materials such as carpet, wood, or tile.
Embracing the New: Ready for Installation
After the old flooring has been removed and the subfloor has been cleaned and repaired, the stage is set for the new flooring installation. With the subfloor now properly prepared, you can move forward with installing your new flooring, whether it's hardwood, tile, carpet, or laminate. It’s important to acclimate certain materials, especially hardwood, to the room's temperature and humidity before installation.
This step prevents expansion or contraction of the wood once the flooring is laid down. If you're opting for professional installation, this is where the expertise of a skilled team truly shines. They will ensure that your new floor is installed with precision, avoiding any issues such as gaps, buckling, or misalignment. The result is a beautifully installed floor that not only enhances the look of your space but also offers long-lasting durability and functionality. With your flooring now in place, your refreshed space is ready for use, providing a beautiful foundation for years to come.
The Journey to a Fresh Floor Begins with Preparation
Before the first board is pulled or tile cracked, the groundwork must be set for a successful flooring removal. Preparation involves more than just clearing out furniture; it's about creating an environment that protects both the existing structure and the new floor that will soon occupy the space. The room must be emptied of all items, and protective covers should be placed on nearby surfaces to shield against debris. For areas like kitchens and bathrooms, disconnection of appliances and fixtures is necessary to avoid accidents and ensure smooth removal. Safety gear is also a must, from goggles to dust masks, to guard against potential hazards like sharp objects or airborne particles. Only when all these steps are carefully executed can the actual removal process begin.
An often-overlooked aspect of preparation is ventilation. Since flooring removal creates substantial dust, it's crucial to open windows and ensure proper airflow. The goal is not only to protect surfaces and individuals but also to keep the air as clean as possible during the entire process. By taking these steps seriously, you’re ensuring a smooth, safe, and efficient flooring removal experience.
How to Safely Tackle Different Flooring Types
Each type of flooring presents its own challenges when it comes to removal. Carpet is often the easiest to handle, but it still requires a systematic approach. Typically, the carpet is cut into smaller sections, making it easier to roll up and discard. Once the carpet is lifted, the padding underneath is removed, and the tack strips must be pulled out with a specialized tool. Hardwood floors, however, require a more delicate touch. Prying up the boards without damaging the subfloor demands patience and the proper tools, especially when dealing with nails or stubborn glue. These elements need to be carefully removed to prevent any harm to the subfloor that could affect the installation of the new flooring.
Tile removal is where the process becomes more physically demanding. The tiles must be chipped away, often requiring a hammer or power tools, and the mortar beneath must be scraped off. While this process can be labor-intensive, it's crucial to ensure that no pieces of tile or leftover mortar remain on the subfloor. The type of flooring you’re removing directly impacts the tools and techniques required, and understanding these differences helps ensure that your flooring removal is carried out efficiently and safely.
Conclusion
Embarking on a flooring removal project is more than just a home improvement task — it's a bold step toward redefining your space. Whether you're saying goodbye to dated tiles, worn carpet, or damaged hardwood, the process opens the door to a refreshed and modern environment that aligns with your vision. Although the task itself can be dusty, labor-intensive, and time-consuming, the reward is well worth the effort.
For homeowners and business owners in Gwinnett County, having a trusted partner by your side can make all the difference. Lasso & Load Junk Removal specializes in the responsible, efficient removal and disposal of old flooring materials, taking the weight off your shoulders — quite literally. From prep to cleanup, we ensure a seamless experience that respects both your time and property. You don’t have to face the hassle alone. Reach out to Lasso & Load Junk Removal today and let us help transform your space from the ground up. Call us at 404-227-2017 or email Lauren.renwickk@gmail.com to schedule your consultation and take the first step toward a cleaner, more beautiful property.