Flooring Removal: The Essential Steps
Removing old flooring might seem like a straightforward chore, but it’s a foundational part of any successful renovation—and one that demands both attention and precision. It’s more than just ripping out aged materials and tossing them in the trash. Whether you're revamping a home interior, updating a commercial property, or prepping for new installations, flooring removal sets the tone for everything that follows. Each material—hardwood, tile, carpet, laminate—comes with its own challenges, requiring specific tools, safety precautions, and disposal strategies.
Done incorrectly, it can damage subflooring, lead to uneven installations, or expose hidden structural issues. That's why it’s vital to approach it with a plan. From preparing your space and protecting surrounding areas to understanding the quirks of your current flooring type, every detail matters. With proper guidance and a little patience, you can transform this seemingly messy task into a manageable—and even satisfying—step in your project’s journey.
Preparing for Flooring Removal
The first and most crucial step in any flooring removal project is preparation. It’s not just about clearing the room; it's about setting up for a smooth, safe process. Before you begin, you’ll need to gather the necessary tools, such as a crowbar, utility knife, sledgehammer, and protective gear like gloves and safety goggles. Taking the time to prepare the room itself is just as important.
Remove all furniture, appliances, and any other objects in the area. You’ll want to ensure there’s plenty of space to work. The flooring removal process can be dusty, noisy, and messy, so covering the walls and any remaining furniture with plastic sheeting is a good idea to prevent dust and debris from spreading throughout your home. It’s also essential to check for any hidden obstacles, like electrical wires or plumbing that might be embedded in the floor, especially in older homes. Understanding your space and what’s underneath the flooring will save you from potential surprises.
Assessing the Type of Flooring You’re Dealing With
Different types of flooring require different approaches. The method you use for removal will depend heavily on the material. Each type of flooring—whether it's carpet, hardwood, tile, or laminate—has its own removal strategy.
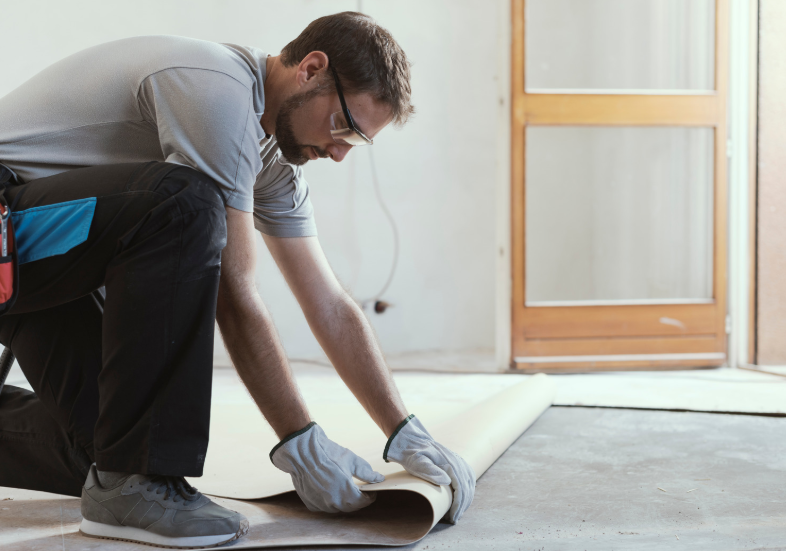
Carpet removal is often the simplest of the bunch. Start by pulling up one corner of the carpet, and once you’ve created an opening, use a utility knife to cut the carpet into manageable strips. These strips can be pulled up easily, but keep in mind that carpet padding and glue may still be attached to the floor. Removing hardwood floors is more involved. These floors are often nailed or stapled into place, and the removal process can be challenging. To get started, you’ll need to pry up the first row of boards using a crowbar or a pry bar.
Once you have a row free, you can continue working your way across the room, taking care not to damage the subfloor in the process. Tile removal typically requires more heavy-duty tools. A hammer and chisel or a specialized floor scraper will help break the tiles free from the adhesive that holds them in place. Depending on how stubborn the adhesive is, you may need to use a heat gun or solvent to soften the glue before scraping the tiles away. Laminate flooring is often easier to remove because it usually isn’t glued down but instead locked into place. You’ll need to lift one end of the laminate planks and work your way across the floor, prying them apart.
Dealing with Adhesive and Subflooring
Once the flooring itself is removed, you're likely to face the next challenge—getting rid of the adhesive or glue that holds the flooring in place. This step is critical because leaving old adhesive behind can cause issues when installing new flooring, such as uneven surfaces or problems with adhesion. For adhesive removal, there are a variety of tools and methods you can use, depending on the type of adhesive. A floor scraper or putty knife is a good place to start, especially for thin layers of adhesive. However, thicker or stronger adhesives may require solvents.
A specialized floor adhesive remover can break down the glue, making it easier to scrape away. Be sure to follow all manufacturer instructions for these products, as some may be toxic or require ventilation. Another thing to keep in mind when removing flooring is the condition of the subfloor. Sometimes, flooring removal reveals that the subfloor has been damaged or compromised over time. If this is the case, you’ll need to assess the level of damage and whether it requires repair before proceeding with the installation of new flooring. In extreme cases, you may need to replace portions of the subfloor entirely.
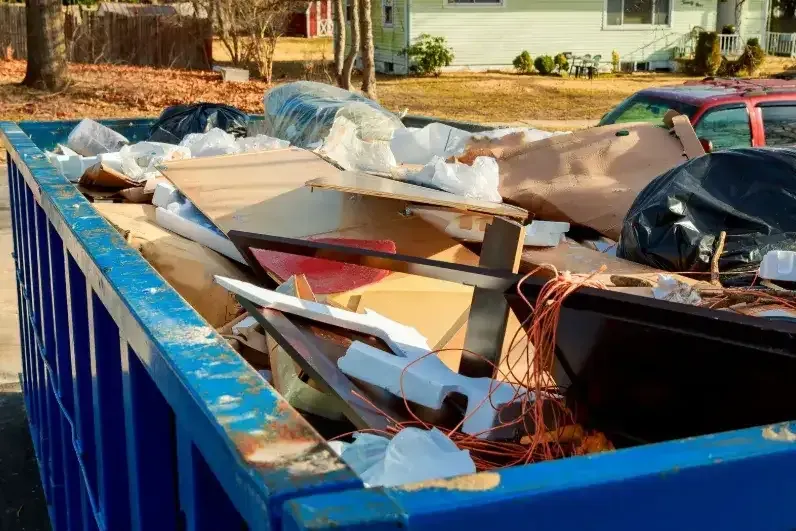
Disposal of Old Flooring
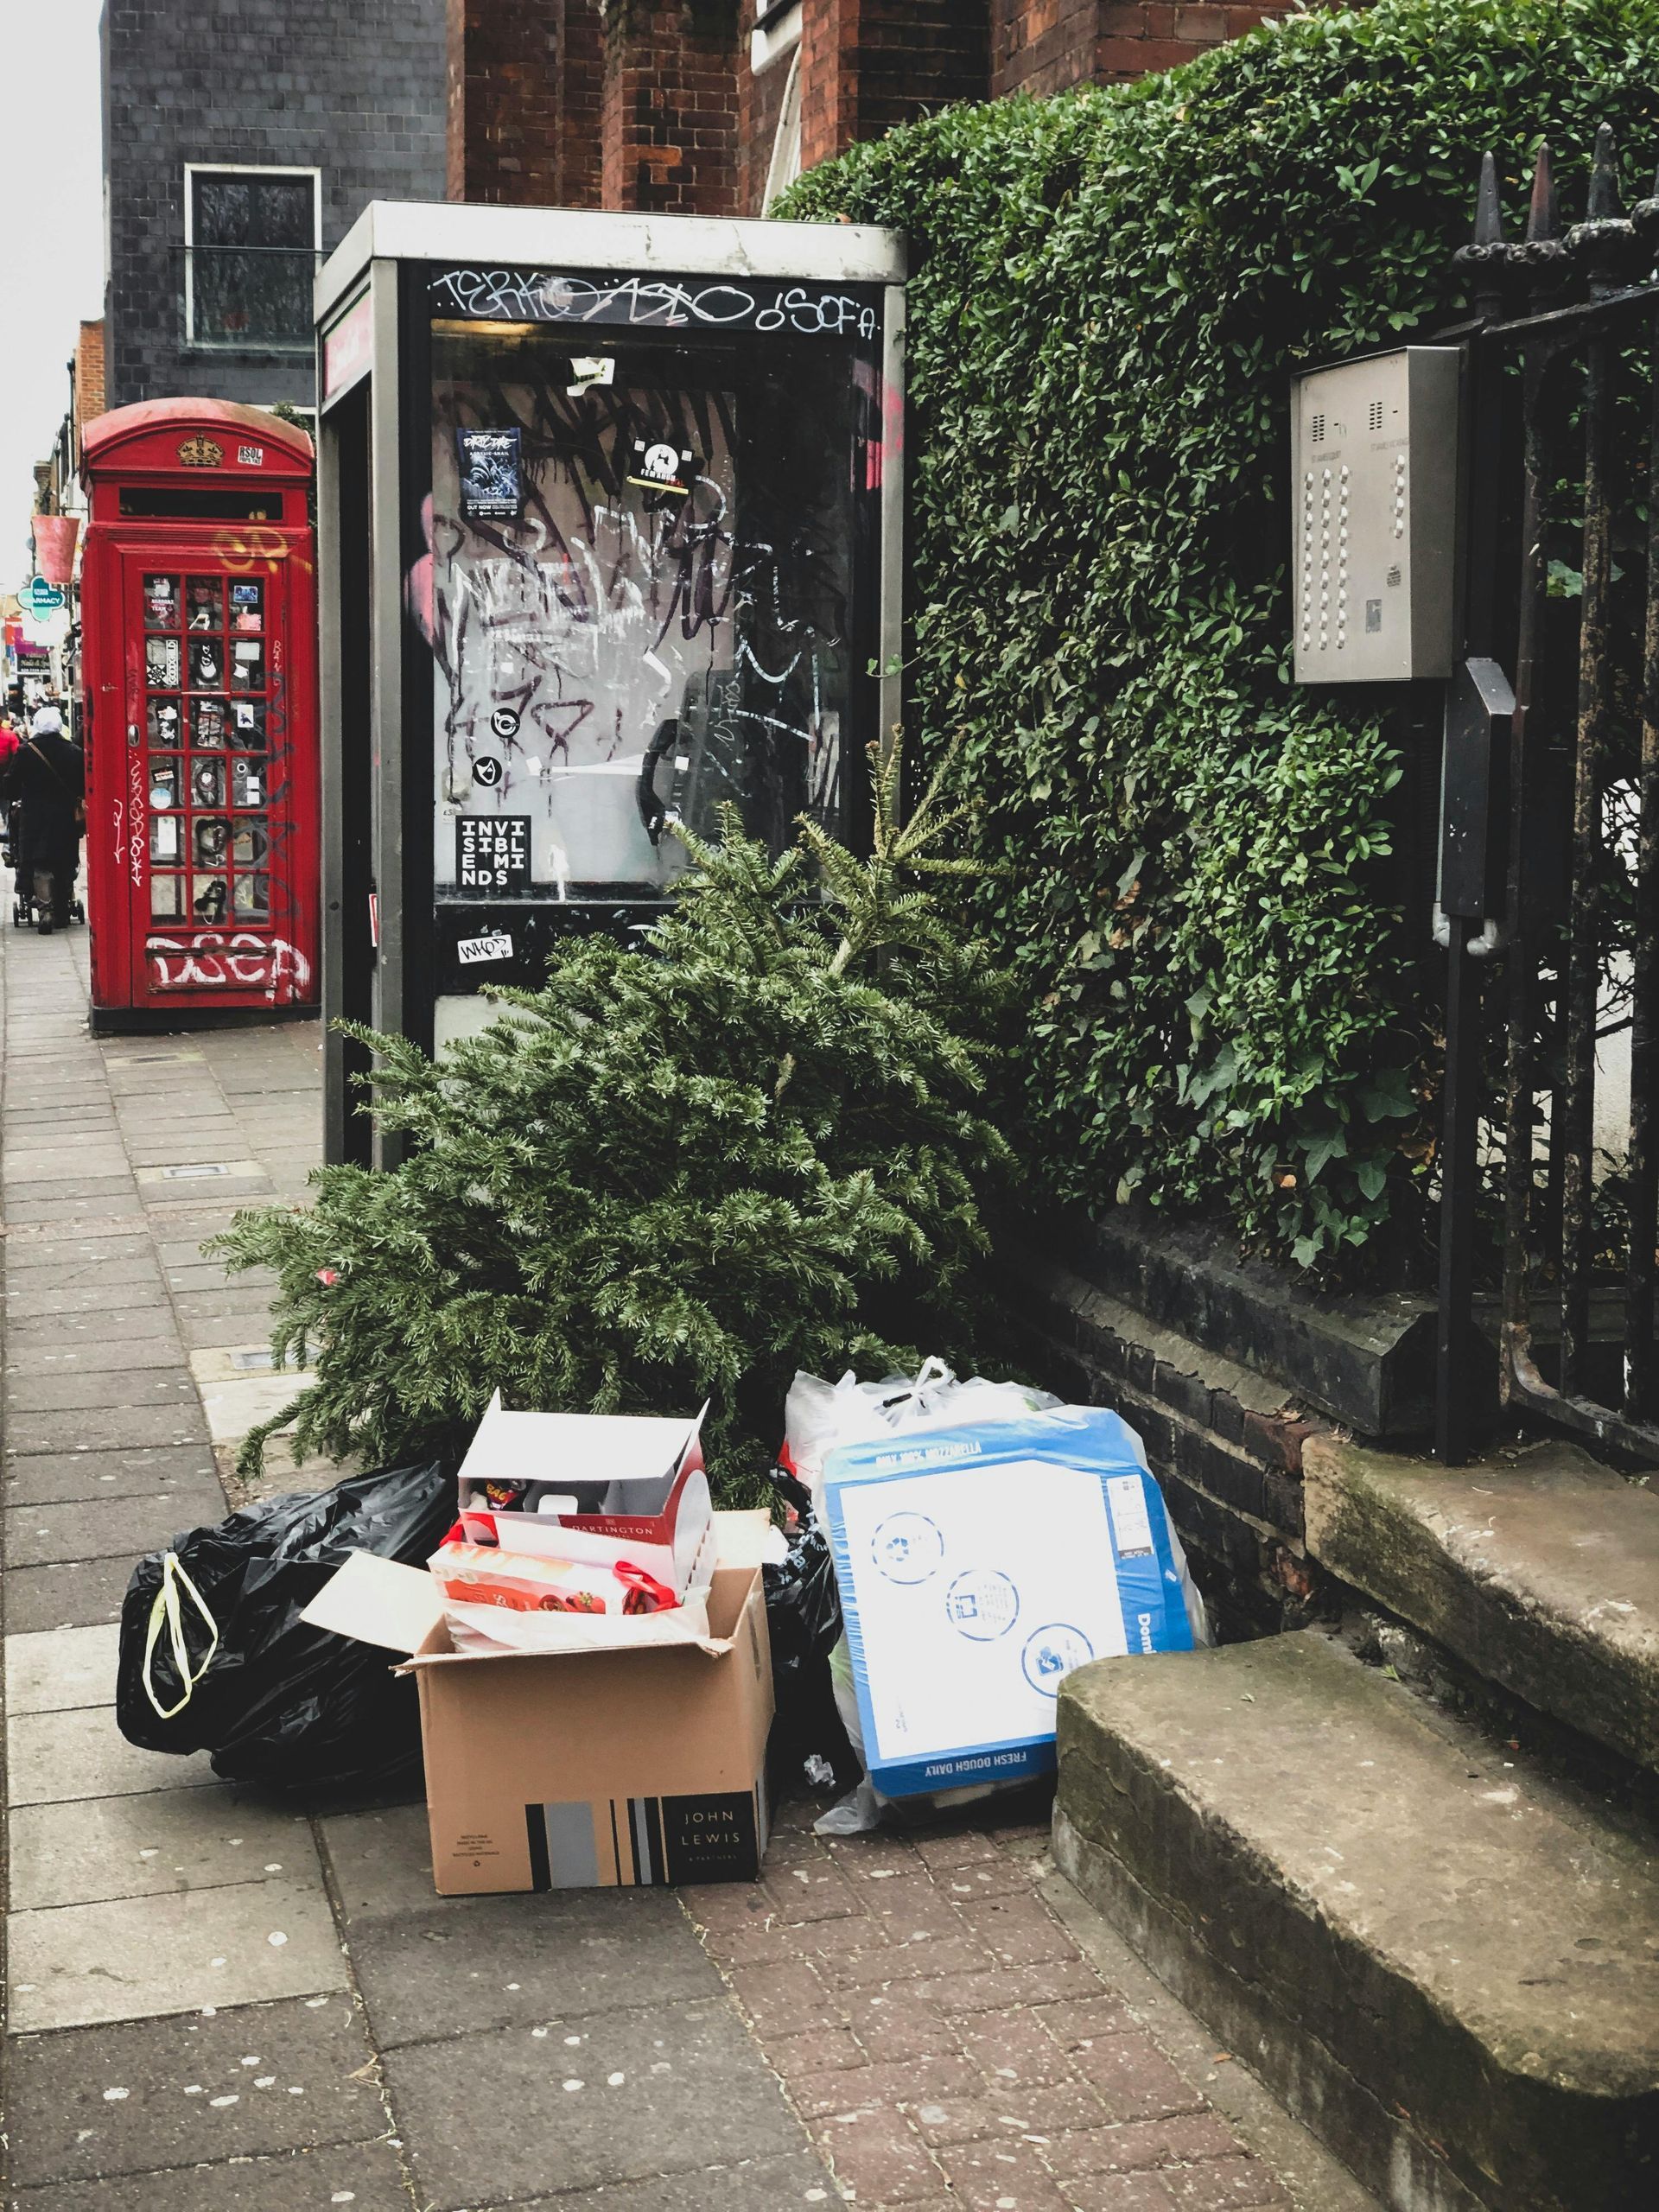
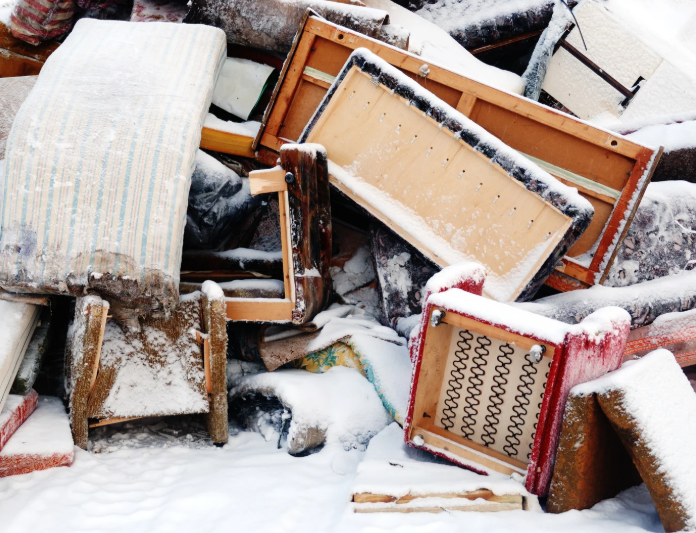
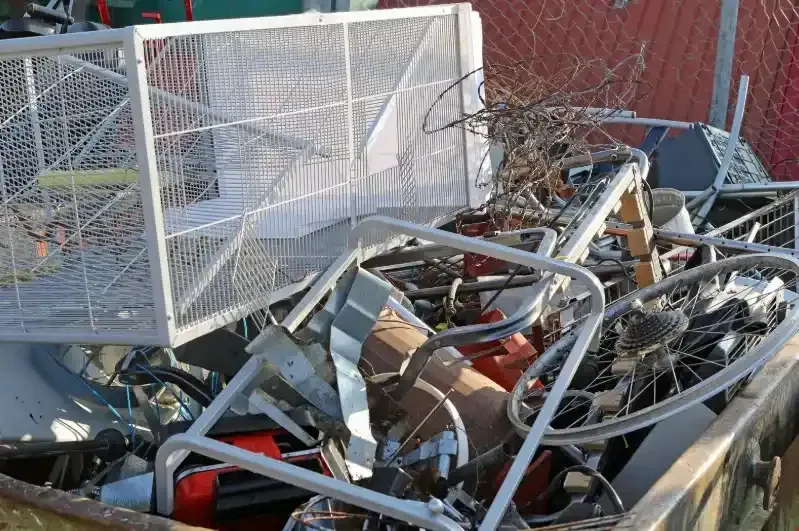
Once the flooring and adhesives are removed, you're left with the issue of disposal. Properly disposing of old flooring is vital, both for cleanliness and environmental responsibility. Depending on the material, flooring can be recycled, donated, or disposed of through a waste management service. For example, hardwood floors, if in good condition, can often be donated or repurposed. Tile and laminate flooring can sometimes be recycled, depending on the local recycling facilities available in your area. Carpet, especially if it’s heavily stained or damaged, may need to be sent to a landfill unless you have a specialized recycling center nearby.
When in doubt, contact your local waste management service or a professional junk removal company. They can often provide advice on where to take your old flooring materials and may even offer pickup services. Using a junk removal company to handle the disposal is especially convenient if you’ve removed large quantities of flooring or if the material is particularly heavy and difficult to manage.
Post-Removal Cleaning
Once the old flooring has been successfully removed and the bulk of the debris has been cleared, the next step is just as critical—thorough post-removal cleaning. This stage sets the foundation for a successful new floor installation, and skipping it can lead to complications later. Start by sweeping or vacuuming the area to eliminate any lingering dust, dirt, splinters, or leftover materials that may have settled during the removal process. These particles, if left behind, can interfere with adhesion, create uneven surfaces, or even damage new flooring materials.
For flooring types like hardwood or tile, it’s often wise to go a step further and mop the subfloor. Use a damp mop to remove any stubborn grime, dried adhesive residue, or general filth that sweeping alone won’t catch. Just be sure the subfloor is completely dry before proceeding, especially if you plan to install materials like laminate or vinyl, which are sensitive to moisture. A clean, dry, and smooth surface is crucial for ensuring your new flooring bonds properly and looks its best from day one.
Hiring a Professional for Flooring Removal
While flooring removal can be a DIY project, there are several compelling reasons why you might want to hire a professional. One of the most significant advantages of hiring a professional is that it ensures the job is done quickly and correctly. Professional floor removal services are well-equipped with the necessary tools, experience, and techniques to handle any type of flooring, from carpet to hardwood to tile. Another reason to consider professional flooring removal services is the safety factor. Removing flooring can sometimes lead to the release of harmful dust particles, especially with older materials that may contain asbestos or lead.
Professionals are trained to handle these situations safely, minimizing any potential health risks to you or your family. Lastly, hiring a professional flooring removal service like Lasso & Load Junk Removal can save you time and effort. Rather than spending days or even weeks struggling with flooring removal on your own, a professional team can get the job done efficiently, leaving you with more time to focus on other aspects of your renovation project.
The Importance of Subfloor Integrity
Once you’ve removed the flooring and cleaned the area, your attention should turn to the condition of the subfloor. The subfloor plays a crucial role in the overall stability and durability of your new flooring installation. If the subfloor is damaged, warped, or uneven, it could cause your new flooring to be unstable and lead to long-term problems.
You may need to repair or replace sections of the subfloor before proceeding with the installation of new flooring. Depending on the material of your subfloor (such as plywood or concrete), you might need to use patching compounds or even replace entire sections to ensure the surface is smooth, level, and free of any defects that could impact the new flooring.
Conclusion
Flooring removal is far more than just a demolition job—it’s a layered process that calls for strategy, the right tools, and a solid understanding of what lies beneath the surface. Whether you're dealing with carpet, hardwood, tile, or laminate, each material presents its own set of challenges that must be handled with care to avoid damaging the subfloor. Skipping steps or using the wrong technique can lead to costly repairs down the road. Just as important as the removal itself is the proper disposal of old materials and thorough post-removal cleaning, which ensures the new flooring can be installed on a clean, level foundation.
Still, tackling this job on your own can be overwhelming, especially when time, energy, or experience are limited. That’s where professionals come in. If you’re located in Gwinnett County and looking for expert help, Lasso & Load Junk Removal offers fast, dependable flooring removal services tailored to your needs. We handle everything from the tear-out to cleanup and disposal. Give us a call at 404-227-2017 or email Lauren.renwickk@gmail.com to schedule your flooring removal service today.