Drywall Removal: What You Need to Know Before Starting
When it comes to home improvement projects, few tasks are as essential and sometimes overwhelming as drywall removal. Whether you're looking to renovate a room, address water damage, or simply make room for a fresh new look, drywall removal is often the first step in achieving your goal. However, this seemingly straightforward task involves more than just grabbing a hammer and tearing down the wall. It requires careful planning and attention to detail to avoid unnecessary damage and ensure the process goes smoothly.
From preparing the space and gathering the right tools to understanding the type of drywall you're dealing with, each step matters. You’ll need to consider safety precautions, such as protecting your floors and covering furniture, as drywall dust can quickly spread.
The Importance of Proper Preparation
When undertaking drywall removal, one of the first things you'll need to do is prepare your space. This might sound obvious, but a well-prepared area is critical to a smooth and efficient process. If you're working in an enclosed space, it's essential to clear the room of furniture and other items. Not only will this give you the freedom to move around, but it will also protect your belongings from dust, debris, and potential damage.
Next, you should think about the safety of both yourself and the space. Drywall dust can spread quickly and settle in places you wouldn't expect, which makes it important to cover floors, doorways, and any appliances or fixtures that you can't easily move. Using plastic sheeting or tarps to cover everything will prevent unnecessary cleanup later on.
Identifying the Type of Drywall and Materials You’re Dealing With
Before you begin removing drywall, it’s important to understand the type of drywall you’re working with. There are various kinds of drywall used in construction, including standard drywall, moisture-resistant drywall, and fire-resistant drywall. Each type of drywall may require slightly different methods of removal or disposal. Standard drywall, typically used for most interior walls, is relatively easy to remove. Moisture-resistant drywall, on the other hand, is often used in areas with high humidity, such as bathrooms and basements. This type of drywall can be more difficult to remove due to its increased thickness and density.
Fire-resistant drywall contains materials designed to slow the spread of fire, and while it's slightly heavier, it can be removed in much the same way as regular drywall. Identifying what you’re dealing with helps in determining the right approach for removal and the tools you'll need to do the job effectively. Another thing to consider is the presence of insulation or wiring behind the drywall. In some cases, you may encounter insulation that will need to be removed as well. This is especially common in exterior walls.
Step-by-Step Drywall Removal Process
Now that you’re prepared and know what to expect, it's time to dive into the process of removing drywall. It’s crucial to follow a step-by-step method to avoid damage to your home and ensure the job is completed efficiently.
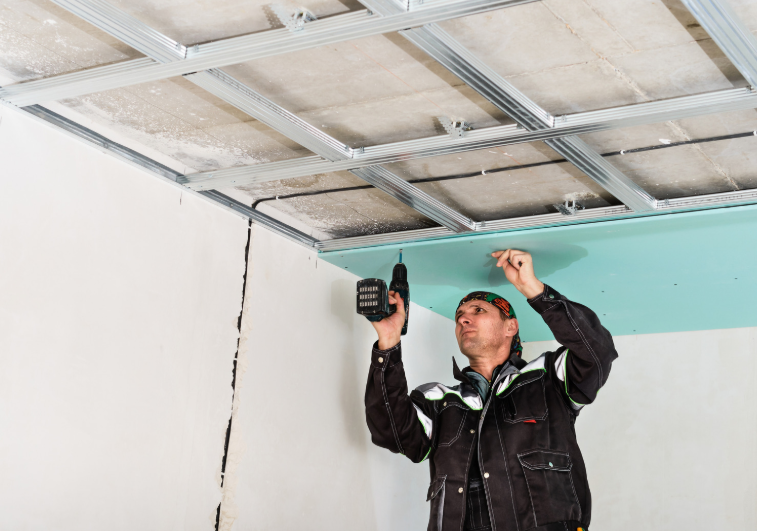
- Score the Drywall Start by scoring the drywall along the area where you want to make your cut. A utility knife is perfect for this job. Score the drywall along the edges of the wall or where it meets the ceiling or floor. By scoring the drywall, you’ll create a neat edge that will make it easier to break the drywall away from the studs without leaving a jagged mess.
- Remove the Trim and Fixtures Next, you’ll need to remove any trim or fixtures that may be in the way. This can include baseboards, crown molding, or light fixtures. Use a pry bar to gently lift the trim away from the wall, being careful not to damage the wall or trim if you plan on reusing it. Take your time with this step to avoid unnecessary damage.
- Cutting and Breaking the Drywall Once you have everything cleared away and scored the drywall, it’s time to cut and break the drywall. Begin by carefully cutting through the drywall along the scored lines with a utility knife. If the drywall is thick, you may need to make a second cut. After making the cuts, gently pull the drywall away from the studs.
- Removing Nails and Screws As you begin removing sections of drywall, you will likely encounter nails or screws that are securing the drywall to the studs. Use a pry bar to pull out nails or a screwdriver to unscrew any screws that remain behind. If you’re working with larger sheets of drywall, it’s best to cut them into smaller sections to make removal easier.
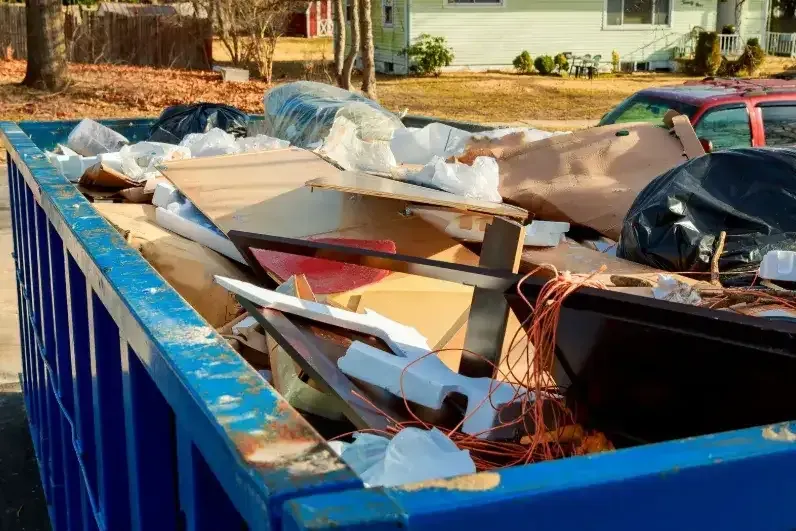
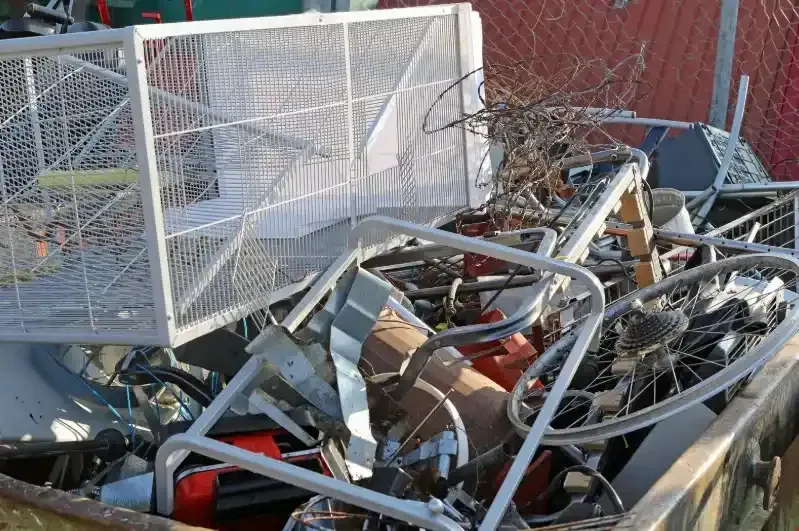
- Dispose of the Drywall Drywall removal generates a lot of waste, and proper disposal is key. You can take the drywall to a landfill, but many recycling centers accept drywall, which is a more eco-friendly option. Some areas may even have specific recycling programs for drywall, as it can be repurposed for construction projects. Be sure to check with your local waste disposal service to learn about the best disposal methods in your area.
Common Challenges During Drywall Removal
While drywall removal seems straightforward, there are a few challenges that can arise along the way. One of the most common issues is when the drywall becomes stuck to the studs or other materials. This is especially true if the drywall has been up for a long time or if it has been adhered with a particularly strong adhesive. In this case, you may need to use a saw or reciprocating saw to cut through the drywall and separate it from the studs.
Another issue is encountering hidden damage behind the drywall. Water damage, mold, or pest infestations can be discovered once you start removing the drywall, and these problems should be addressed before you install new drywall or make further improvements. Always be prepared for the possibility of these unexpected issues and take the necessary steps to handle them safely.
Hiring a Professional for Drywall Removal
While drywall removal can certainly be a DIY project, there are times when it’s best to hire a professional. If you’re not comfortable working with potentially hazardous materials, like mold or asbestos, it’s a good idea to hire a specialist who can safely remove and dispose of the drywall. Professionals also have the tools and expertise to complete the job faster and more efficiently than most DIYers can, which can save you time and frustration in the long run.
If the drywall removal is part of a larger renovation project, hiring a professional can also ensure that the job is done in a way that complements the rest of your home’s layout. Professionals can work with other contractors to ensure that your drywall removal fits seamlessly into the overall renovation plan.
How Long Does Drywall Removal Take?
The time it takes to remove drywall depends on several factors, including the size of the area, the type of drywall, and whether any obstacles are present (such as insulation, electrical wires, or plumbing). For a small room, you might be able to complete the job in a day, whereas a larger area could take two or more days to fully remove and dispose of the drywall.
While a skilled DIYer can remove drywall in a few hours, a professional team can typically complete the same work in a fraction of the time. Professionals have experience with efficient techniques and have the proper tools to handle the job swiftly. The amount of time needed for drywall removal also depends on how much preparation and cleanup is involved. If you need to prep the area by covering furniture, setting up dust barriers, and disconnecting utilities, that will add to the time spent.
Environmental Considerations and Recycling Drywall
When you remove drywall, you’re left with a lot of waste. But did you know that drywall is a material that can be recycled? Recycling drywall helps reduce landfill waste and provides an opportunity to reuse materials in other construction projects. Many local recycling facilities accept drywall and use it to create new products. When recycling drywall, the material is broken down, and gypsum (the primary ingredient in drywall) is extracted and repurposed.
Before throwing away your drywall, check with your local waste management services or recycling centers to see if drywall disposal is available. Certain types of drywall, such as those with mold or water damage, may not be recyclable, but standard drywall is often accepted. Additionally, recycling your drywall can reduce the environmental impact of your renovation project, contributing to more sustainable practices in home improvement.
Conclusion
Drywall removal is an essential part of many home renovation projects, but it’s important to approach it with the right knowledge, preparation, and attention to detail. Whether you're taking on the task yourself or hiring a professional, understanding the different types of drywall, the tools required, and the safety measures needed will ensure the job is done efficiently and without unnecessary complications. Proper preparation of your space, including protecting furniture and flooring from dust and debris, is key to maintaining a clean and organized work environment. Additionally, identifying any hidden wiring, plumbing, or insulation behind the drywall can save you from potential accidents.
If you’re looking to tackle drywall removal or need assistance with junk removal services for your home improvement project, Lasso & Load Junk Removal, based in Gwinnett County, is here to help. Their team of professionals offers efficient and reliable services to ensure your project goes smoothly from start to finish. Reach out to them today for expert support and peace of mind. You can contact Lasso & Load Junk Removal at 404-227-2017 or via email at Lauren.renwickk@gmail.com for further assistance.