Drywall Removal: How to Prepare Your Home

Embarking on a drywall removal project can be both exciting and daunting. Whether you're renovating a room, addressing water damage, or updating outdated materials, proper preparation is crucial to ensure a smooth and safe process. Drywall removal might seem like a simple task, but it requires careful planning to avoid unexpected challenges. From protecting your home’s interior to safeguarding your personal safety, every step matters. The process involves more than just removing the drywall itself—it requires an assessment of potential hazards, the right tools, and an organized approach to minimize disruption in your daily life.
Proper preparation ensures that the project not only runs smoothly but that your home remains intact throughout the demolition process. Knowing how to handle potential risks, like exposed wires or hidden plumbing, and understanding the clean-up and disposal procedures, can make all the difference. This guide will help you tackle drywall removal with confidence, turning your renovation project into a successful and stress-free experience.
Understanding the Scope of Drywall Removal
Before embarking on your drywall removal project, it’s vital to determine the scope of the work involved. Are you simply removing drywall from one section, such as a damaged wall, or is it a larger-scale task involving an entire room? The extent of your project will directly impact the tools you'll need, the time it will take, and the overall complexity. For instance, removing drywall from a single wall might only take a few hours, whereas an entire room can stretch over multiple days.
Additionally, this will help you estimate the amount of debris and waste you'll be dealing with. Once you've assessed the project scope, gather the necessary tools and materials, such as utility knives, saws, and protective coverings. You’ll also want to plan for disposal—if you're working on a large project, you may need a dumpster or professional junk removal services to manage the debris. Being clear about the scope from the start ensures a more organized and efficient process.
Assessing Potential Hazards
Safety should always be the primary concern when removing drywall, as there are hidden hazards behind the surface that could pose risks. The most common hazards include electrical wiring, plumbing pipes, and HVAC ducts, which are often concealed within walls. To avoid damaging these systems, use a stud finder to locate studs, wires, and pipes within the wall. Mark these areas clearly so that you can avoid hitting them with tools during the removal process.
Another critical safety concern arises if your home was built before the 1980s—older drywall may contain hazardous materials such as asbestos or lead-based paint. Disturbing these materials can release harmful particles into the air, which pose significant health risks, especially if they are inhaled. If you suspect your home has asbestos or lead paint, it’s essential to have the materials professionally tested and removed. Taking these precautions before starting ensures that the drywall removal process is safe for both you and your home.
Gathering the Necessary Tools and Equipment
Having the right tools on hand will make the drywall removal process more efficient and less strenuous. Essential tools include:
- Utility knife: For scoring and cutting drywall sections.
- Pry bar: To gently remove drywall panels from studs.
- Hammer: Useful for tapping and loosening stubborn sections.
- Screwdriver or drill: To remove screws or nails securing the drywall.
- Drywall saw: For cutting through drywall, especially in tight or awkward spaces.
- Safety gear: Including gloves, safety goggles, dust mask or respirator, and protective clothing.
Ensure all tools are in good working condition and that you know how to use them safely.
Preparing the Work Area
Proper preparation of the work area is crucial to minimizing mess, protecting your belongings, and ensuring that the drywall removal process runs as smoothly as possible. Begin by clearing the room of all furniture, decorations, and other items that could be damaged or hinder the work. For larger, immovable items, such as heavy furniture, cover them with plastic sheeting or drop cloths to protect them from dust and debris. Next, seal off the work area by closing any doors and covering vents, windows, and doorways with plastic sheeting.
This helps contain dust and keeps it from spreading throughout your home. To further protect your floors and make cleanup easier, lay down protective coverings, such as drop cloths or old blankets. These steps are essential for maintaining cleanliness and preventing unnecessary damage to the rest of your home. A well-prepared work area allows you to focus on the task at hand without worrying about additional messes or accidents.
Turning Off Utilities
One of the most important preparatory steps when removing drywall is turning off all utilities to the area. This includes shutting off the electricity and water supply to ensure your safety throughout the demolition process. Cutting into electrical wires or plumbing pipes can lead to serious accidents, such as electrocution or flooding. To avoid these risks, first turn off the main power supply to the room where you'll be working.
Additionally, turn off the water supply if you're working in an area where plumbing is involved. It’s also a good idea to use a non-contact voltage tester to check that electrical circuits are fully de-energized. If you're unsure about safely disconnecting utilities or are concerned about hidden wires or pipes, it’s wise to consult with a licensed electrician or plumber before starting the demolition. By taking these precautionary steps, you can protect yourself and your home from costly or dangerous accidents during the drywall removal.
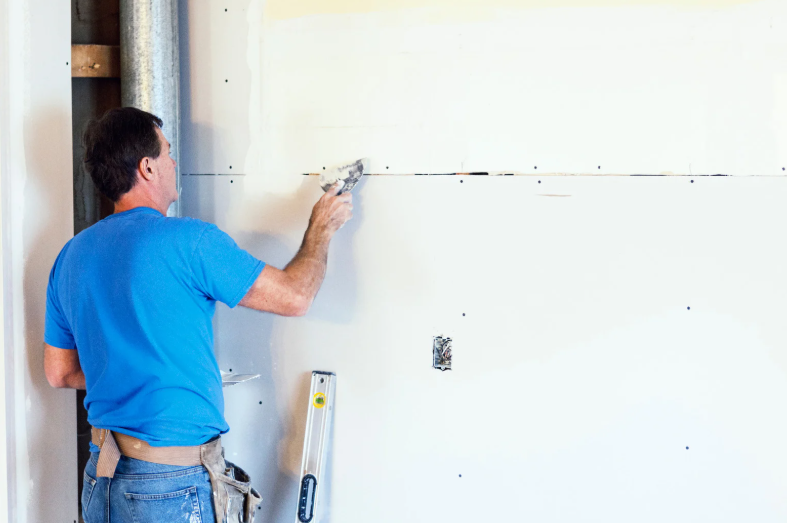
Scoring and Removing Drywall Sections
The first step in the drywall removal process is scoring the drywall with a utility knife. Scoring along the seams and around any fixtures or outlets ensures that you can remove the drywall in manageable, controlled sections. This method not only minimizes the potential for damage to adjacent surfaces but also helps maintain the integrity of the surrounding structure. After scoring, use a pry bar and hammer to gently loosen the drywall from the studs.
Start from the top of the wall and work your way downward, moving systematically to avoid creating unnecessary damage. It’s important to apply gentle, consistent pressure, as using excessive force could damage the underlying framing, electrical wiring, or plumbing. As each section is removed, carefully inspect the area behind the drywall for any hidden issues, such as mold, pest infestations, or structural damage. Identifying and addressing these issues before installing new drywall is crucial to the long-term health and stability of your home.
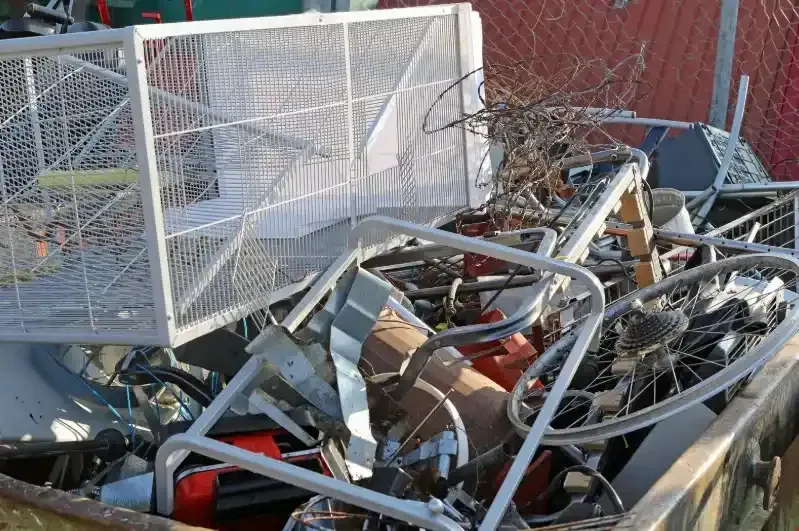
Handling Debris and Waste
Drywall removal generates a considerable amount of debris, including broken panels, dust, and fasteners. Properly handling and disposing of this waste is crucial for both environmental and safety reasons. To start, collect all debris in heavy-duty trash bags or bins. However, be sure not to overfill them, as doing so can create difficulties when lifting and carrying the waste, increasing the risk of injury. Check with your local waste management facility to understand the guidelines for disposing of construction debris, as regulations can vary depending on the location.
In many areas, there are specific rules regarding the disposal of materials like drywall, especially if it contains hazardous substances such as asbestos or lead-based paint. If the volume of debris from your project is significant, you might consider renting a dumpster to simplify the cleanup process. Alternatively, hiring a professional junk removal service can save time and effort, ensuring that all debris is removed efficiently and disposed of in an environmentally responsible manner.
Cleaning and Preparing for the Next Phase
After you’ve successfully removed the drywall and cleared the area of debris, the next step is to prepare for the next phase of your renovation project. Begin by thoroughly cleaning the space, as drywall removal generates significant dust and debris that can settle on surfaces and affect air quality. Use a vacuum equipped with a HEPA filter to remove fine dust particles from floors, walls, and ceilings. Wipe down all remaining surfaces, such as studs and any fixtures that were exposed during the demolition.
At this stage, it’s also important to inspect the exposed studs and framing for any signs of damage or wear. Check for issues such as mold, rot, or pest infestations, which may have been hidden by the drywall. If you find any problems, address them immediately to prevent further complications when you install the new drywall. Taking the time to thoroughly clean and inspect the space will ensure a solid foundation for the next phase of your project, whether you’re installing new drywall, painting, or tackling other renovations.
Conclusion
Preparing your home for drywall removal is a meticulous process that requires careful planning, organization, and attention to detail. From assessing potential hazards behind the drywall to gathering the necessary tools and equipment, each step plays a critical role in ensuring that the project proceeds safely and smoothly. By securing the work area, turning off utilities, and following safety protocols, you can minimize risks and keep your home clean and protected throughout the process. Whether you’re tackling a small section or a full room, proper preparation will set the stage for a successful drywall removal experience.
If you’re a resident in Gwinnett County and are looking for professional help with drywall removal and debris cleanup, Lasso & Load Junk Removal is here to provide reliable and efficient services. We understand the complexities of drywall removal and offer comprehensive solutions to make your renovation project as seamless and stress-free as possible. Reach out to us at 404-227-2017 or email Lauren.renwickk@gmail.com to schedule your appointment today. Let Lasso & Load Junk Removal help you tackle your renovation projects with ease.