Best Practices for Flooring Removal: A Comprehensive Guide

Flooring removal can seem like a daunting task, whether you're tackling a home renovation, upgrading a commercial space, or simply refreshing the look of your property. It's not just about tearing up old tiles, carpet, or laminate; the process requires a great deal of planning, the right equipment, and careful attention to detail. Whether you're removing vinyl, hardwood, or tile flooring, each material has its own set of challenges that must be addressed to prevent damage to the subfloor beneath.
If you're unsure where to begin, understanding the different methods of removal and preparing your space will set the foundation for a successful project. In this guide, we’ll walk you through everything you need to know, ensuring a smooth, safe, and efficient flooring removal process from start to finish.
Understand Your Flooring Type
The first step in any flooring removal project is identifying the type of flooring you're dealing with. Different materials require different removal methods, tools, and techniques. For instance, vinyl and linoleum floors are typically easier to remove than hardwood, tile, or carpet.
Vinyl or linoleum floors often come up with a simple pull if they were installed with adhesive. Hardwood or laminate floors, on the other hand, may require more specialized tools to avoid damaging the underlying subfloor. If you’re dealing with tile or stone, you’ll need a heavy-duty scraper or even a hammer and chisel to break the bonds that hold the tiles in place. Understanding the characteristics of the floor material will dictate the tools and time required for the job.
Gather the Right Tools
To ensure a smooth and efficient removal process, having the right tools is crucial. Below are some essential tools for removing different types of flooring:
- Utility knife: Perfect for cutting vinyl, linoleum, or carpet. It will allow you to score the material, making it easier to tear up in sections.
- Pry bar: This is essential for lifting hardwood floors or pulling up tiles. It helps to wedge under the material without damaging the subfloor.
- Floor scraper: A sturdy, wide scraper is a must-have for removing adhesive, especially after pulling up vinyl or linoleum. It can also help with tile or concrete removal.
- Hammer: You’ll need this to gently tap the pry bar or floor scraper under stubborn materials.
- Sledgehammer: For larger tiles or thick layers of concrete underlayment, a sledgehammer may be necessary to break through.
- Gloves, goggles, and knee pads: Safety is a priority. You don’t want to injure yourself while pulling up flooring materials, especially if you're dealing with sharp edges or potentially hazardous materials.
Protect Your Surroundings
Flooring removal can be a messy process, with dust, debris, and broken materials flying around, making it vital to protect your surroundings. Start by covering your furniture with plastic sheeting or old blankets to safeguard it from dust and possible damage. If you're working in a room with items you can't move, such as built-in shelves or appliances, cover them with protective materials.
Seal off doorways and vents with plastic sheeting or painter’s tape to contain dust and prevent it from spreading to other areas of the home or building. Consider using drop cloths on the floor as well to catch any debris that may fall during the removal process. In some cases, especially with older flooring that may contain harmful substances like asbestos, it's essential to wear protective gear, such as goggles, gloves, and a mask, to avoid inhaling dust or coming into contact with chemicals.
Remove the Baseboards and Trim
One of the best practices for flooring removal is to take out the baseboards and trim before pulling up the floor. By removing these elements, you can prevent them from getting damaged during the process. Additionally, removing baseboards helps you to cut the new flooring more accurately later on.
Use a utility knife to cut through any paint or caulk sealing the baseboards to the wall. Then, carefully use a pry bar to gently remove the baseboards, starting at the corners. Store them safely for reuse if you plan to install new flooring in the same layout.
Start with the Corners
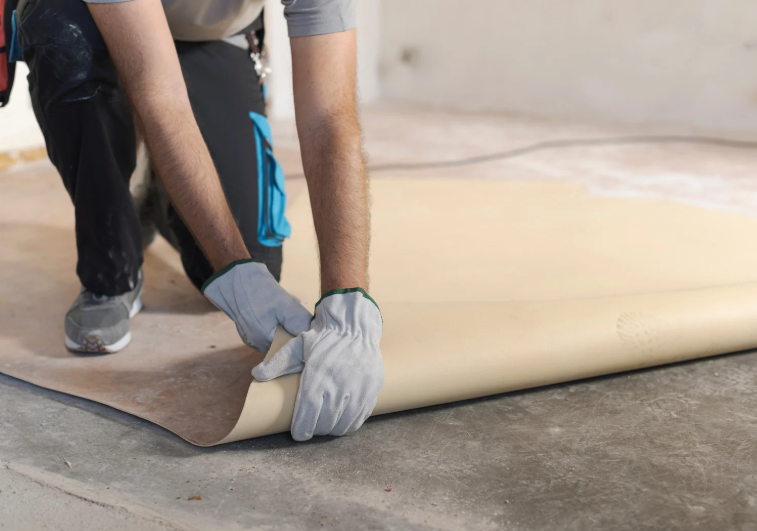
When you're ready to start removing the flooring, begin at the farthest corner of the room. Work your way out to the exit, so you're not trapped in a corner with no way to exit. For carpets or vinyl, it’s easier to start by pulling up a corner of the material with your hands or a utility knife. Once you’ve exposed a corner, use your pry bar or scraper to continue lifting the flooring.
If you're dealing with hardwood floors, use the pry bar to gently lift the edges of the planks. Be sure to work slowly and avoid forcing the bar into the wood, as this could cause splintering or damage to the subfloor. If the flooring is nailed down, use the pry bar to remove nails as you go along.
Tackle Glue and Adhesive
After you've removed the main flooring material, you’ll often be left with stubborn glue or adhesive that holds the floor in place. Adhesive removal can be one of the trickiest and most time-consuming parts of the job. Start by using a floor scraper to remove as much of the adhesive as possible. For more stubborn glue, apply an adhesive remover product to soften the bond. Allow it to sit for the recommended time, then scrape away the adhesive.
Be mindful of the potential for harmful fumes, especially if you’re working with chemical-based removers, so it’s important to ventilate the room or wear a respirator mask. In some cases, gentle heat from a heat gun or clothes iron can help loosen the adhesive. For eco-friendly options, try using vinegar or citrus-based cleaners, which can break down adhesives without being harsh on the environment or your health.
Remove Stubborn Materials
Certain flooring materials, such as old tiles or glued-down carpeting, can be particularly stubborn and difficult to remove. For tiles, especially ceramic or stone, a hammer and chisel are essential for breaking through the bond that holds them to the subfloor. Start at the edge of a tile and gently tap the chisel under it with a hammer, working your way toward the center. With carpeting, some sections may be firmly glued down, requiring extra effort to lift. For these, use a utility knife to score the material and then pry it up using a floor scraper.
If you're dealing with concrete underlayment, it may be necessary to use a sledgehammer or power scraper to break through tough layers. Be patient with stubborn materials—rushing the job could damage the subfloor or lead to unnecessary frustration. When in doubt, seek professional help if the materials prove difficult to remove.
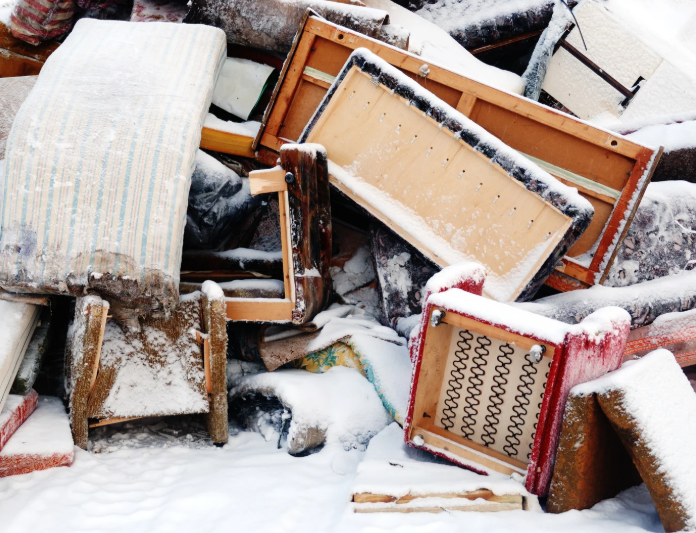
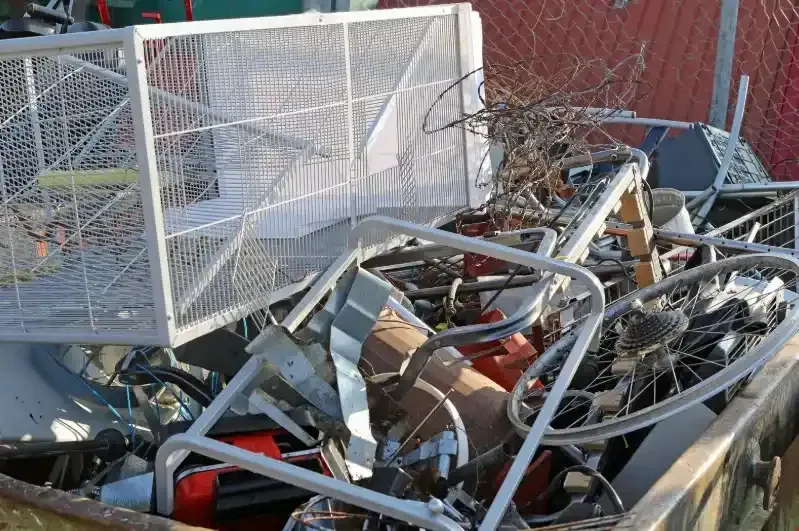
Dispose of Flooring Materials Responsibly
Once you've successfully removed the flooring, the next step is to deal with the debris. Proper disposal of flooring materials is important for both environmental and safety reasons. Many older flooring types, especially tiles or linoleum, may contain harmful materials such as asbestos, which require specialized disposal. Check with local waste management facilities to determine the appropriate disposal methods for your flooring type.
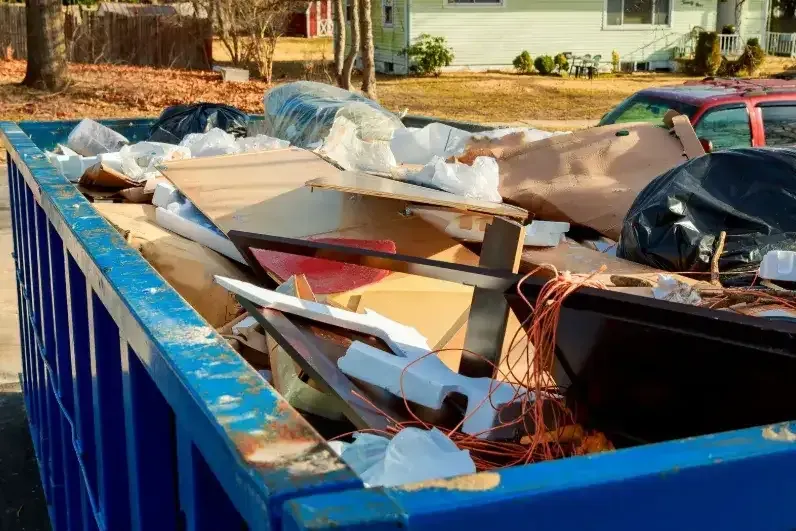
For larger jobs or if you're handling a lot of debris, consider renting a dumpster or hiring a junk removal service to haul everything away. A professional junk removal company can ensure that materials are disposed of in an eco-friendly manner, potentially recycling the materials when possible. Avoid simply throwing everything in the trash, as improper disposal can lead to environmental harm. Recycling old flooring materials can help reduce waste and minimize your carbon footprint.
Inspect the Subfloor
Once you’ve removed all the old flooring and cleared away the debris, it’s time to inspect the subfloor. The subfloor is the surface upon which your new flooring will be installed, so ensuring it’s in good condition is essential. Look for any signs of damage, such as cracks, water damage, or signs of rot. If the subfloor is damaged, it will need to be repaired before installing new flooring to ensure the longevity and stability of your new floor. If the subfloor is wooden, check for warping or uneven areas that could affect the installation.
For concrete subfloors, look for cracks or uneven spots that may require leveling compounds. Take the time to thoroughly inspect and address any issues with the subfloor. This step may seem like an extra task, but it’s a crucial part of ensuring your new flooring goes in smoothly and lasts for years to come.
Consider Professional Help
While flooring removal can be a DIY project for those with the right skills, it's also a job that can be complex and physically demanding. For those who don’t have the time, expertise, or desire to handle the task themselves, hiring professionals can save both time and effort. Experts in flooring removal can ensure the job is done quickly, efficiently, and with minimal mess or damage to your property.
Conclusion
Flooring removal is a multi-step process that requires careful planning, the right tools, and attention to detail. From understanding the type of flooring you’re dealing with to disposing of the materials responsibly, each step plays an important role in ensuring the job is done correctly.
If you're in Gwinnett County and looking for professional help with flooring removal, Lasso & Load Junk Removal is here to assist. Our experienced team can handle all aspects of flooring removal, from tearing up old materials to hauling away the debris, ensuring a stress-free experience for you.
For more information or to schedule an appointment, give us a call at 404-227-2017 or email us at Lauren.renwickk@gmail.com. We're here to make your flooring removal process as easy and efficient as possible.