Bathroom Demolition: Tips for a Smooth Process


Renovating a bathroom is one of the most rewarding home improvement projects, but it often begins with a challenging and sometimes overwhelming task: bathroom demolition. While it can be exciting to imagine the transformation of the space, the process of tearing out old fixtures, tiles, and other elements requires careful planning, organization, and attention to detail. The demolition phase sets the stage for everything that follows, so it's important to approach it with the right strategy.
Whether you’re taking on the demolition yourself or hiring professionals, there are several crucial steps that can help the process go smoothly. From ensuring that water and electricity are safely disconnected to choosing the proper tools for the job, every small decision will impact the efficiency and safety of the project.
Start with a Plan
Before diving into bathroom demolition, having a clear plan is crucial for a smooth process. Start by carefully evaluating the space and determining which features need removal and which ones must stay intact. This will help you avoid damaging plumbing or electrical systems that you plan to reuse. A solid plan ensures that you stay organized and can anticipate the scope of work.
Make sure to outline each task step-by-step, so you can check off each part of the job as you go along. Having the right tools for the job will make demolition go more smoothly. Whether you need a hammer, crowbar, or specific power tools, having them ready will save you time during the project. Safety should also be prioritized in the planning phase; make sure to have appropriate safety gear such as goggles, gloves, and a mask. Properly planning each step of the demolition process will reduce stress and prevent mishaps as you move forward with your renovation.
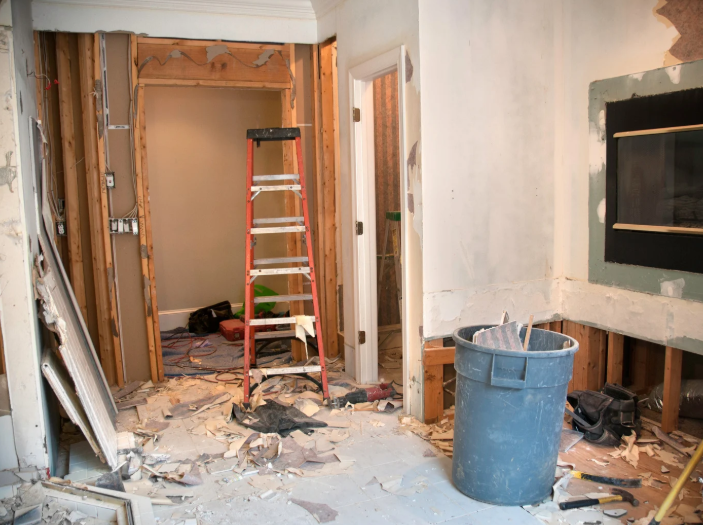
Prepare for the Mess
Bathroom demolition often results in considerable mess, including dust, debris, and even hazardous materials like mold or asbestos, especially in older homes. It's vital to protect your home and family by setting up dust barriers around the work area. Use plastic sheets or painter's tape to seal off the bathroom from the rest of the house.
This will help contain the mess and prevent debris from spreading throughout your home. Cover your floors with protective sheeting or drop cloths to prevent scratches or damage. Additionally, make sure to wear the proper personal protective equipment (PPE), including gloves, goggles, and a dust mask. This will help protect you from airborne particles and prevent potential injuries. Ensuring proper ventilation in the room will also minimize the inhalation of dust. Consider placing an air purifier in the room to filter out fine dust particles. The more you prepare for the mess, the easier it will be to manage during and after the demolition process.
Turn Off Utilities
Turning off all utilities is a critical step before starting any bathroom demolition work. The first thing you should do is shut off the water supply to avoid leaks and flooding. This is especially important when removing fixtures like the sink, bathtub, or toilet, which are connected to plumbing. Be sure to disconnect any plumbing systems that could be disturbed during the process.
This precaution ensures your safety while working around wires or fixtures. Disconnecting utilities before beginning demolition also helps avoid unexpected disruptions. You won't have to worry about accidental water leaks or electrical shorts while working. It may seem like an extra step, but taking the time to turn off all utilities ensures a much smoother and safer demolition process, ultimately preventing damage and safety risks.
Start with the Easy Stuff
A good way to begin the bathroom demolition process is by tackling the smaller, less complicated items first. Begin by removing fixtures like cabinet doors, mirrors, towel bars, and light fixtures. These elements are relatively simple to take down and will help clear up the space for the more involved work ahead. Removing these items early in the process also provides a clear view of the layout and what else needs to be removed. When dealing with mirrors, take special care, as they can easily shatter. Use proper gloves and protective gear to avoid injury.
For shelves or mirrors attached to the wall, gently remove the screws or nails before lifting the item off the wall. Keep a container nearby to store screws and hardware to prevent losing them. By focusing on the simple stuff first, you'll make the rest of the demolition less overwhelming and more manageable, setting the stage for more difficult tasks ahead.
Work in Phases
Bathroom demolition doesn’t need to be done in one go. Breaking the process into smaller, manageable phases will help make the task seem less daunting. Start with the non-structural elements, such as the vanity, sink, and mirror, which are relatively easy to remove. Once these pieces are out of the way, move on to larger, more challenging fixtures, like the bathtub, shower, or toilet. These fixtures tend to be more cumbersome, so it's important to take extra care when removing them.
For items like tile or grout, it’s best to start removing the edges first with a hammer and chisel to avoid damaging the walls. Working in phases allows you to complete smaller tasks with greater efficiency and gives you a sense of accomplishment as you check off each part of the project. Breaking down the job also makes it easier to organize your time, and you can handle each step at a pace that fits your schedule.
Remove Fixtures with Care
Removing heavy bathroom fixtures, such as a bathtub, toilet, or sink, requires patience and care. These items are often attached to the floor and connected to plumbing, making their removal more challenging. Start by loosening any bolts, screws, or fasteners that hold the fixture in place. For toilets and sinks, make sure to disconnect any plumbing before attempting to move them.
Bathtubs can be especially tricky due to their size and weight, so consider hiring additional help for this task. Be mindful of any plumbing pipes or electrical wiring that might be attached to the fixtures. If you're unsure about how to properly disconnect or remove the fixtures, it’s best to consult a professional to avoid causing any damage to the plumbing or electrical systems.
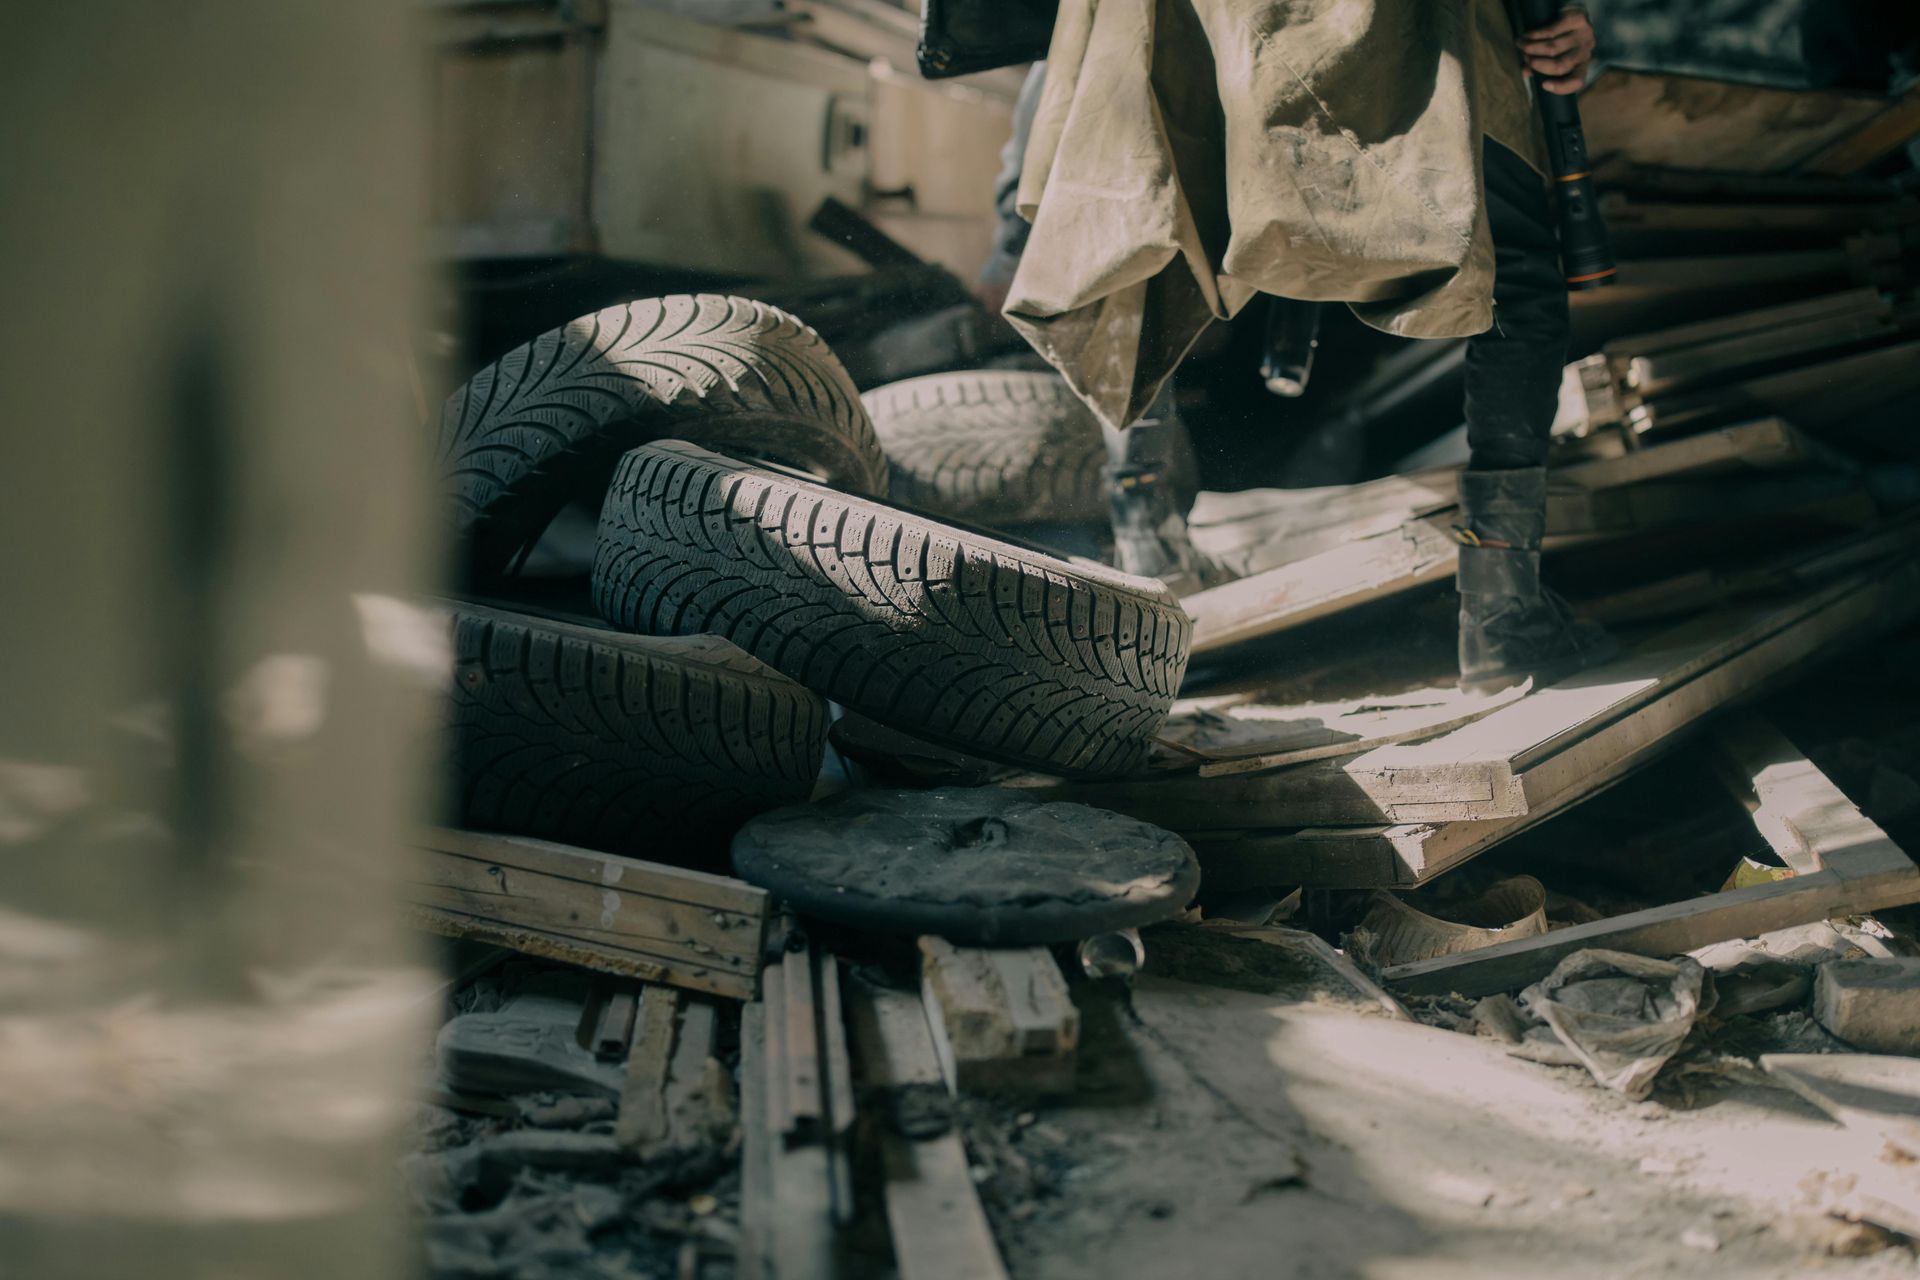
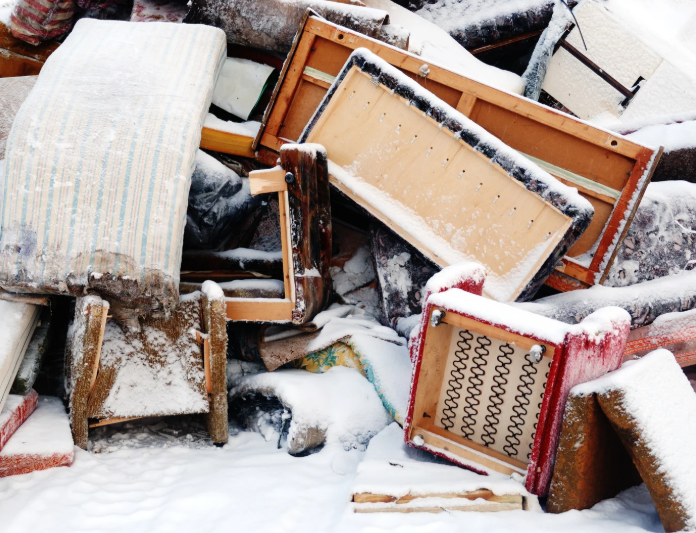
Dispose of Debris Properly
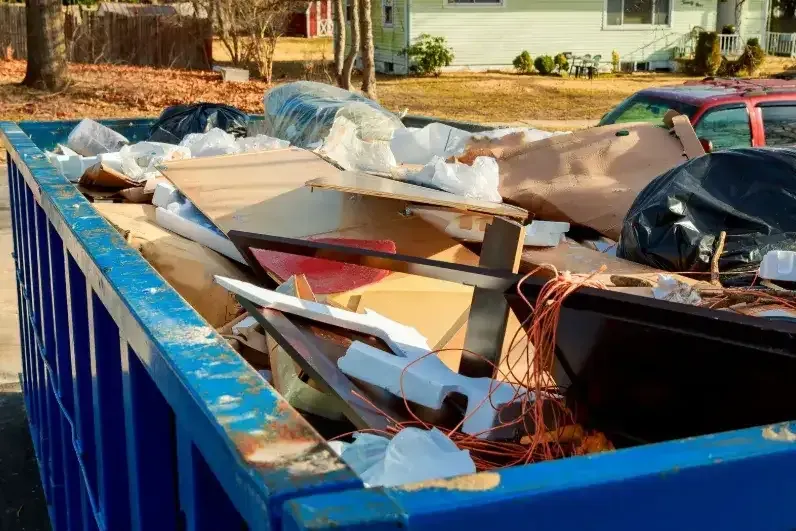
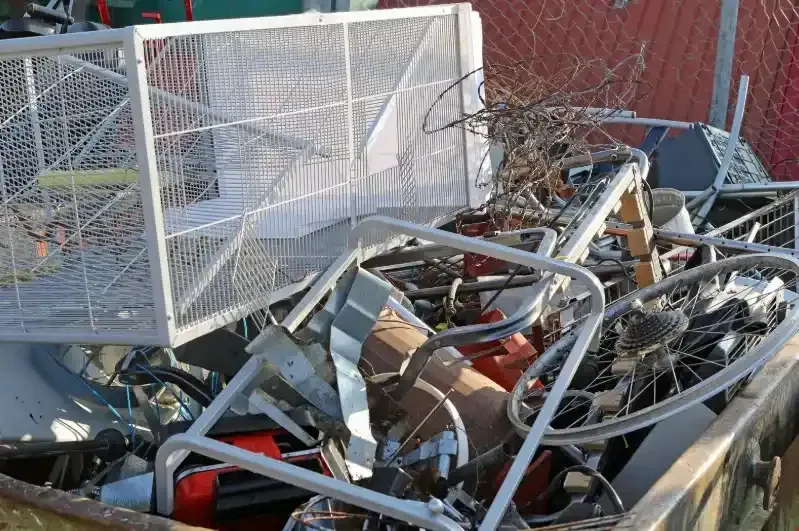
During bathroom demolition, you'll generate a significant amount of debris, including broken tiles, wood, metal pipes, and old fixtures. Proper disposal of these materials is essential for cleanliness and environmental reasons. Many items, such as old toilets and bathtubs, can be recycled, so look into local recycling centers that accept these materials. For other types of debris, check whether your local waste management facility offers special disposal services for demolition waste.
Some junk removal services, such as Lasso & Load Junk Removal, specialize in bathroom demolition debris and can help remove large quantities of waste quickly. These services ensure that your waste is disposed of properly and efficiently, saving you time and reducing the environmental impact. If you choose to handle the disposal yourself, make sure to rent a dumpster or arrange for multiple trips to a disposal site. Proper disposal will keep your project on track and ensure your work area stays clean and organized.
Check for Structural Issues
After completing the demolition, it’s important to thoroughly inspect the underlying structure of the bathroom for any hidden issues. Look closely for signs of water damage, mold, or wood rot, especially around areas that were connected to plumbing or in spots where water might have leaked over time. If you notice any of these problems, it's crucial to address them before continuing with the renovation.
Failure to do so could lead to more significant issues down the line, such as further damage to walls, floors, or plumbing systems. Fixing these problems early on will ensure that the new bathroom is built on a solid, clean foundation. Also, check for any structural weaknesses, like loose floorboards or wall studs, which may have been hidden beneath fixtures. Taking the time to inspect the structure after demolition can prevent costly repairs during the renovation process and ensure a longer-lasting, safer bathroom.
Professional Assistance Can Save Time and Stress
While bathroom demolition can be a manageable DIY project for some homeowners, it’s often worth considering professional help, especially for more complex or labor-intensive tasks. A professional demolition team will bring the right equipment, skills, and experience to complete the job quickly and efficiently. They can also handle the heavy lifting and removal of large fixtures like bathtubs or toilets, which can be awkward and difficult to manage on your own.
Additionally, professionals are well-versed in safely disconnecting plumbing and electrical systems, minimizing the risk of damage. Hiring a professional junk removal service like Lasso & Load Junk Removal can also save you the hassle of dealing with waste disposal, ensuring that everything is disposed of correctly. While DIY demolition can be satisfying, professional help offers peace of mind and guarantees a smoother, more efficient start to your bathroom renovation.
Conclusion
Bathroom demolition is an important first step in transforming your space, but it requires careful planning, preparation, and safety measures to ensure everything goes according to plan. With the right approach, you can tackle the task effectively and lay the groundwork for a smooth renovation. From disconnecting plumbing and electrical systems to safely removing large fixtures, every detail matters. By following the tips provided, you can ensure your demolition project is executed safely and efficiently, minimizing the risk of damage to your home.
However, if the scope of the project feels overwhelming, it may be worth considering professional assistance. Hiring a junk removal service like Lasso & Load Junk Removal in Gwinnett County can save you time and effort. Their team specializes in eco-friendly waste disposal, making sure your bathroom demolition cleanup is handled quickly and responsibly. For further assistance, contact Lasso & Load Junk Removal at 404-227-2017 or email Lauren.renwickk@gmail.com for a hassle-free experience.